Skip to content
![]()
You know what they say about necessity and invention, right? I found myself looking for something to help organize a pair of thread snips, needles and pins for small hand sewing tasks. Something like my larger scissors case, but smaller and easier to carry. I made a few changes to the original scissors case to create this mini version with needle minder and a handy side pocket. Not only is it super cute, but it’s super quick to make (and makes a great gift for friends that sew!).
Materials to Make a Mini Scissors Case with Needle Minder
- Two 6″ x 10″ or larger pieces of fabric, one for the outside of the case and one for the inside/needle minder
- One 6″ x 10″ or larger scrap of thin batting
- Paper or craft scissors
- Fabric cutting shears or rotary cutter and mat
- Pins
- Sewing machine (I use a BERNINA 590 E)
- Your choice of presser foot, Reverse pattern foot #1D, Patchwork foot #97D or #37D, or Walking foot #50
- Download the Mini Scissors Case pattern here
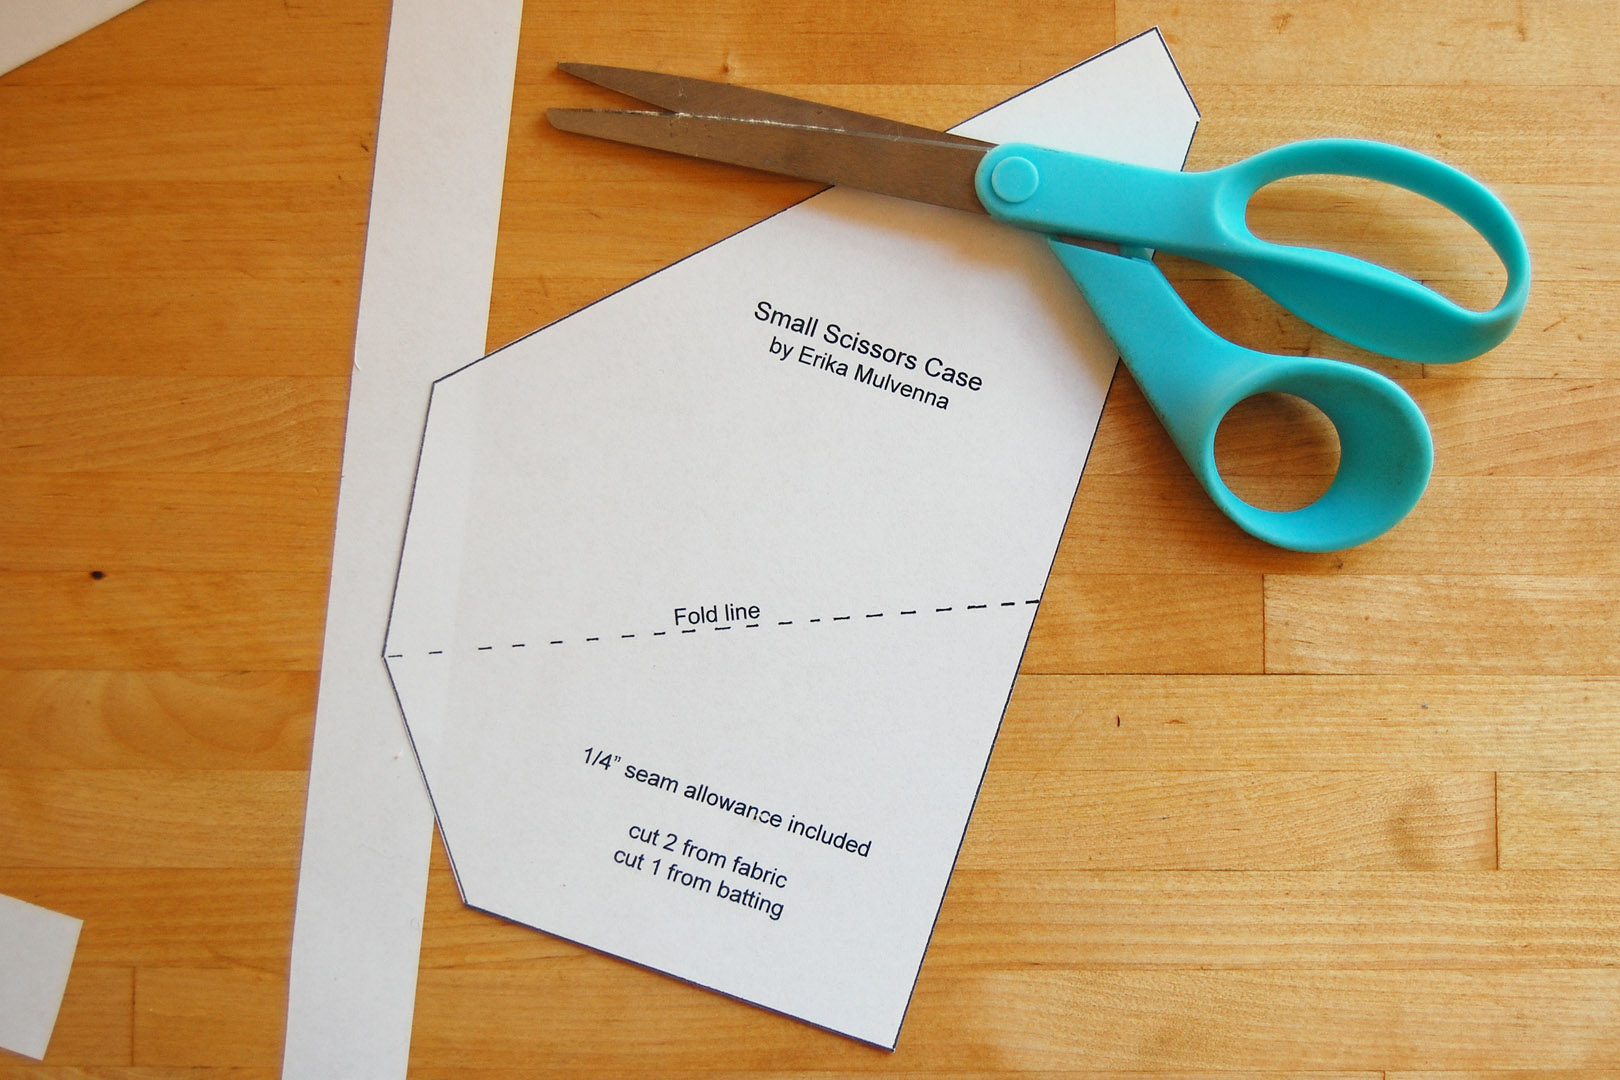
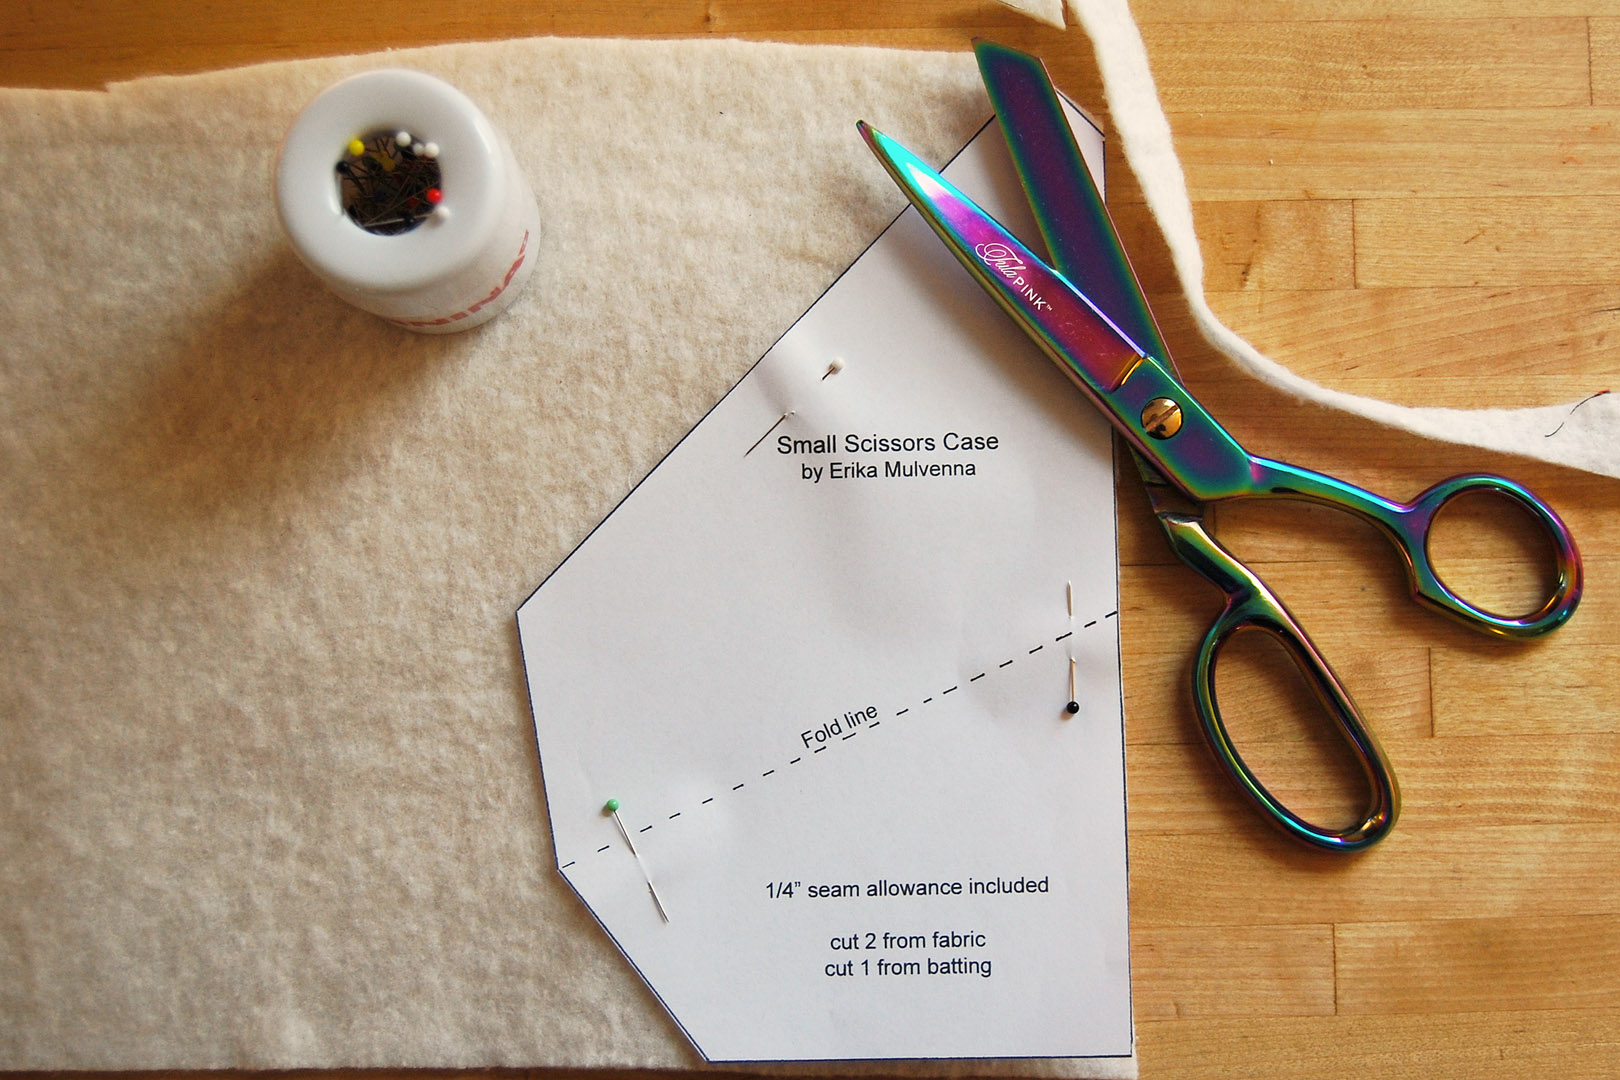
First, print the Mini Scissors Case pattern at 100% and cut it out using paper or craft scissors.
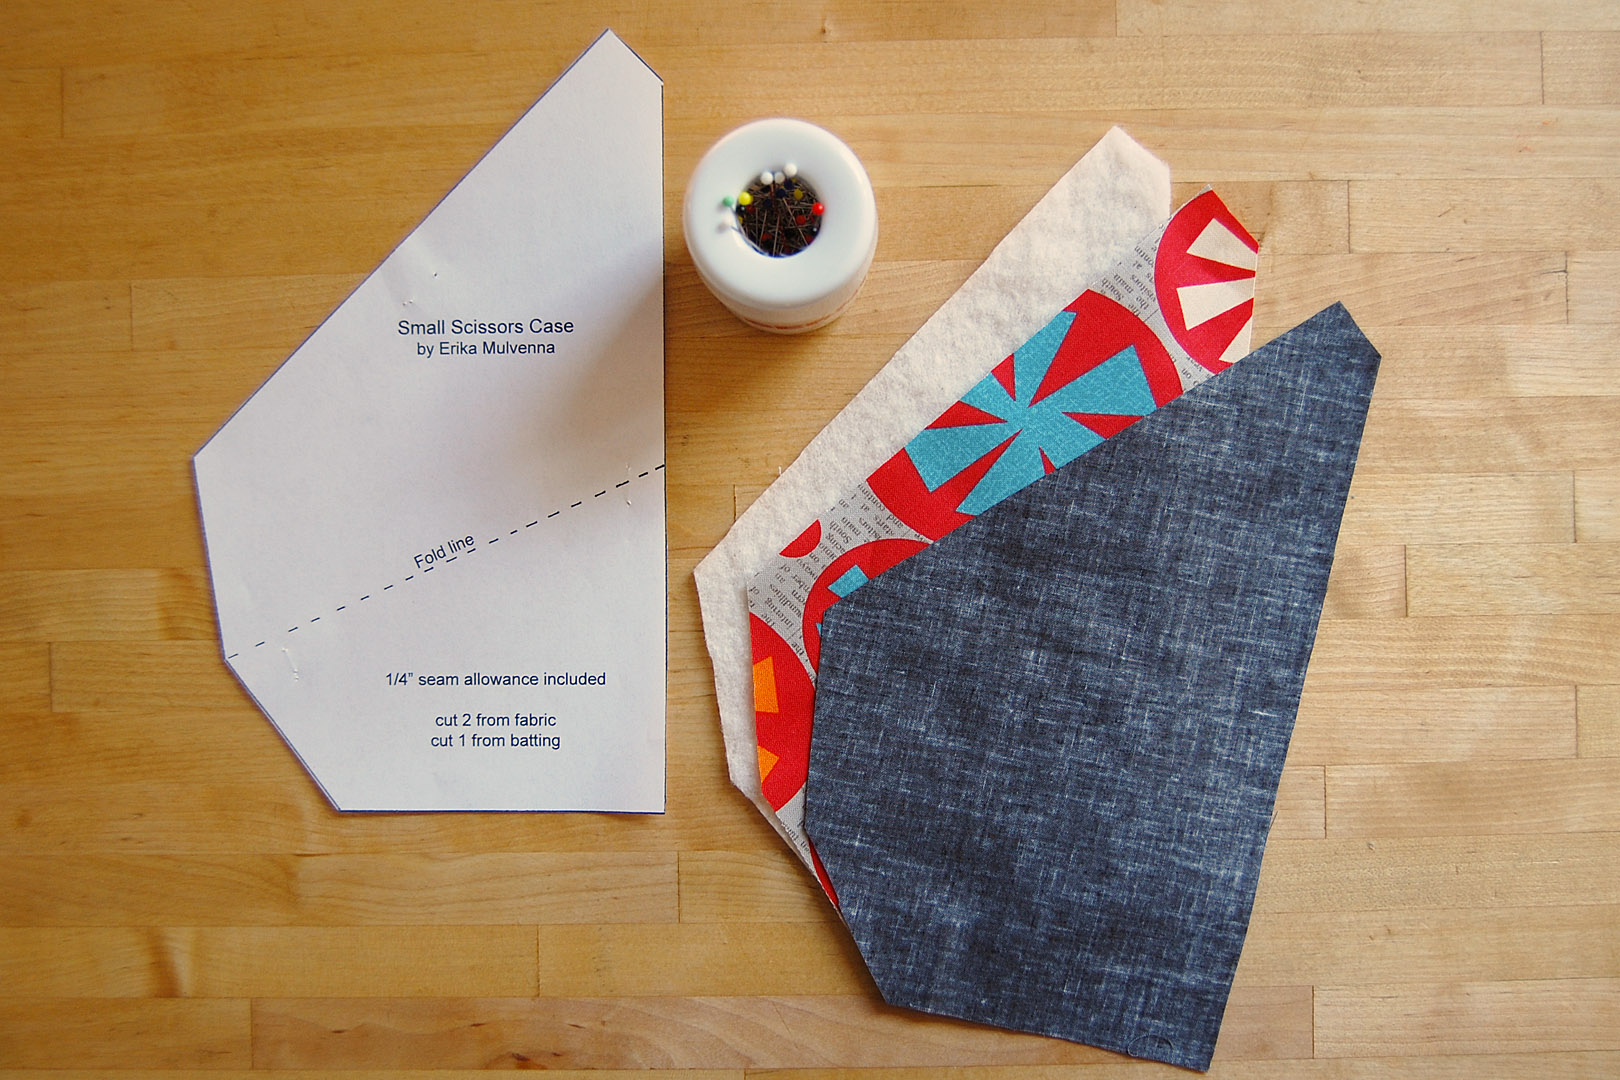
Layer your fabric pieces, one for the inside of the case and one for the outside of the case, right sides together and pin the pattern to the fabric. Cut out from fabric and set these pieces aside.
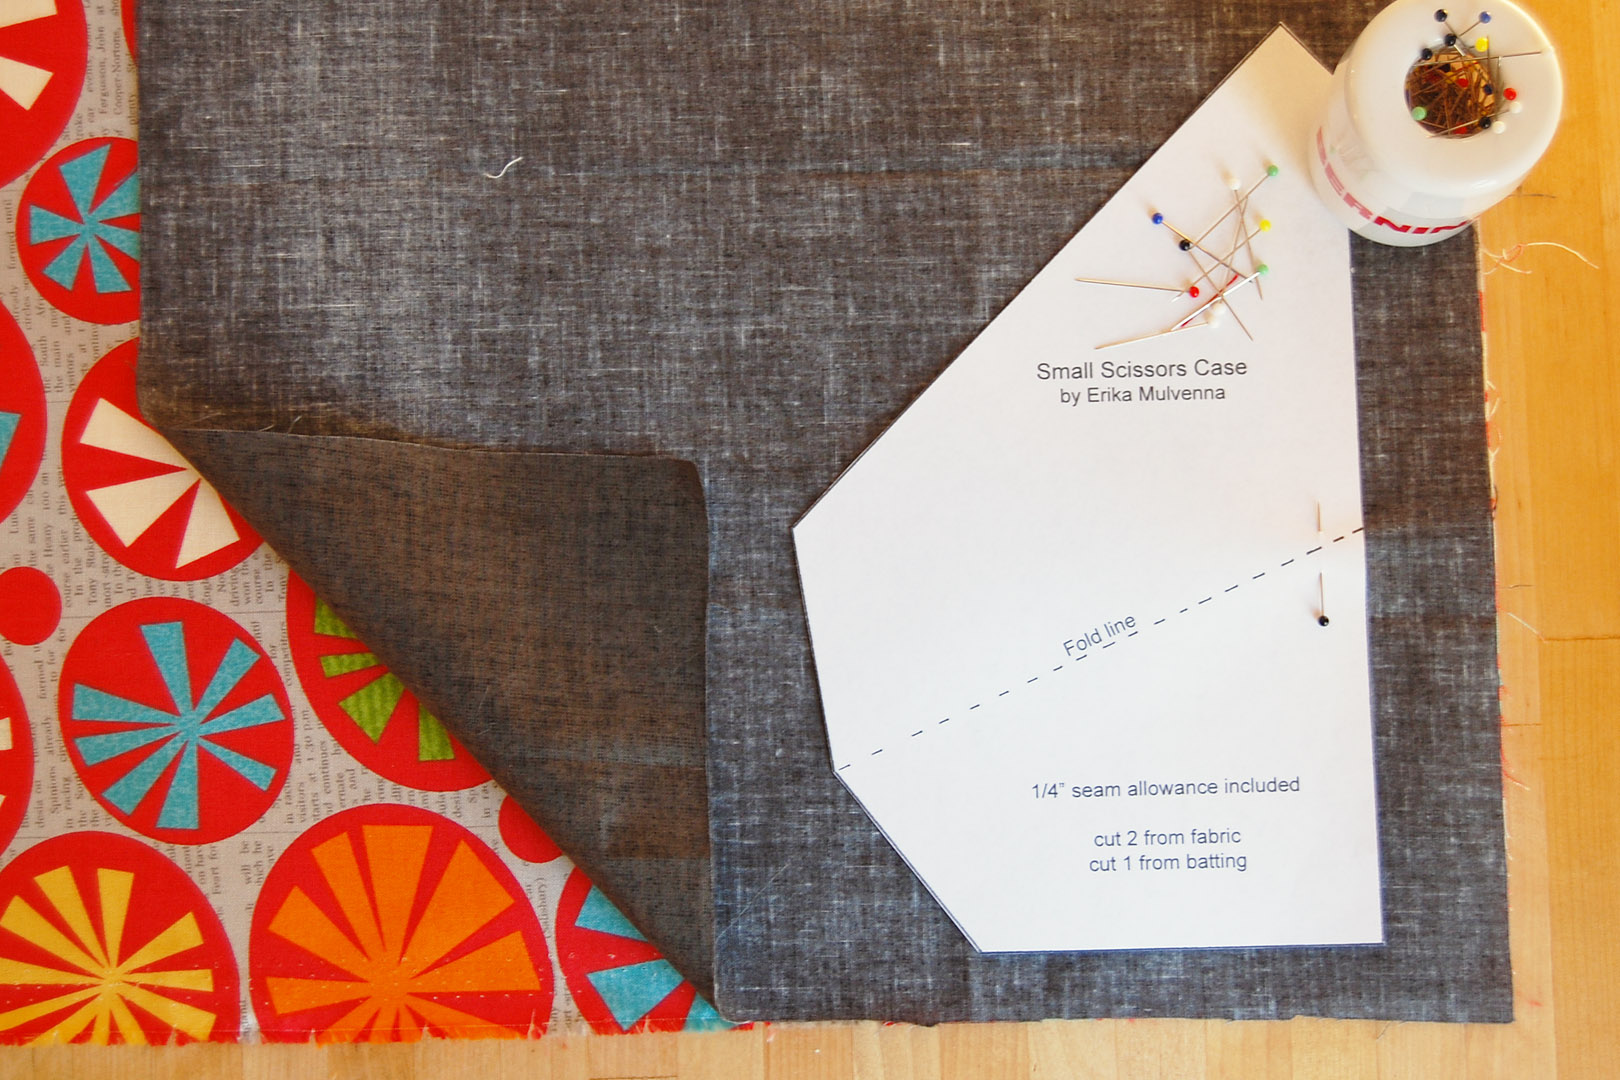
Pin and cut one pattern piece from thin batting. If the batting is too thick it may not be possible to sew through all the layers in the last step. I am using a scrap of an 80% cotton/20% polyester batting for this craft.
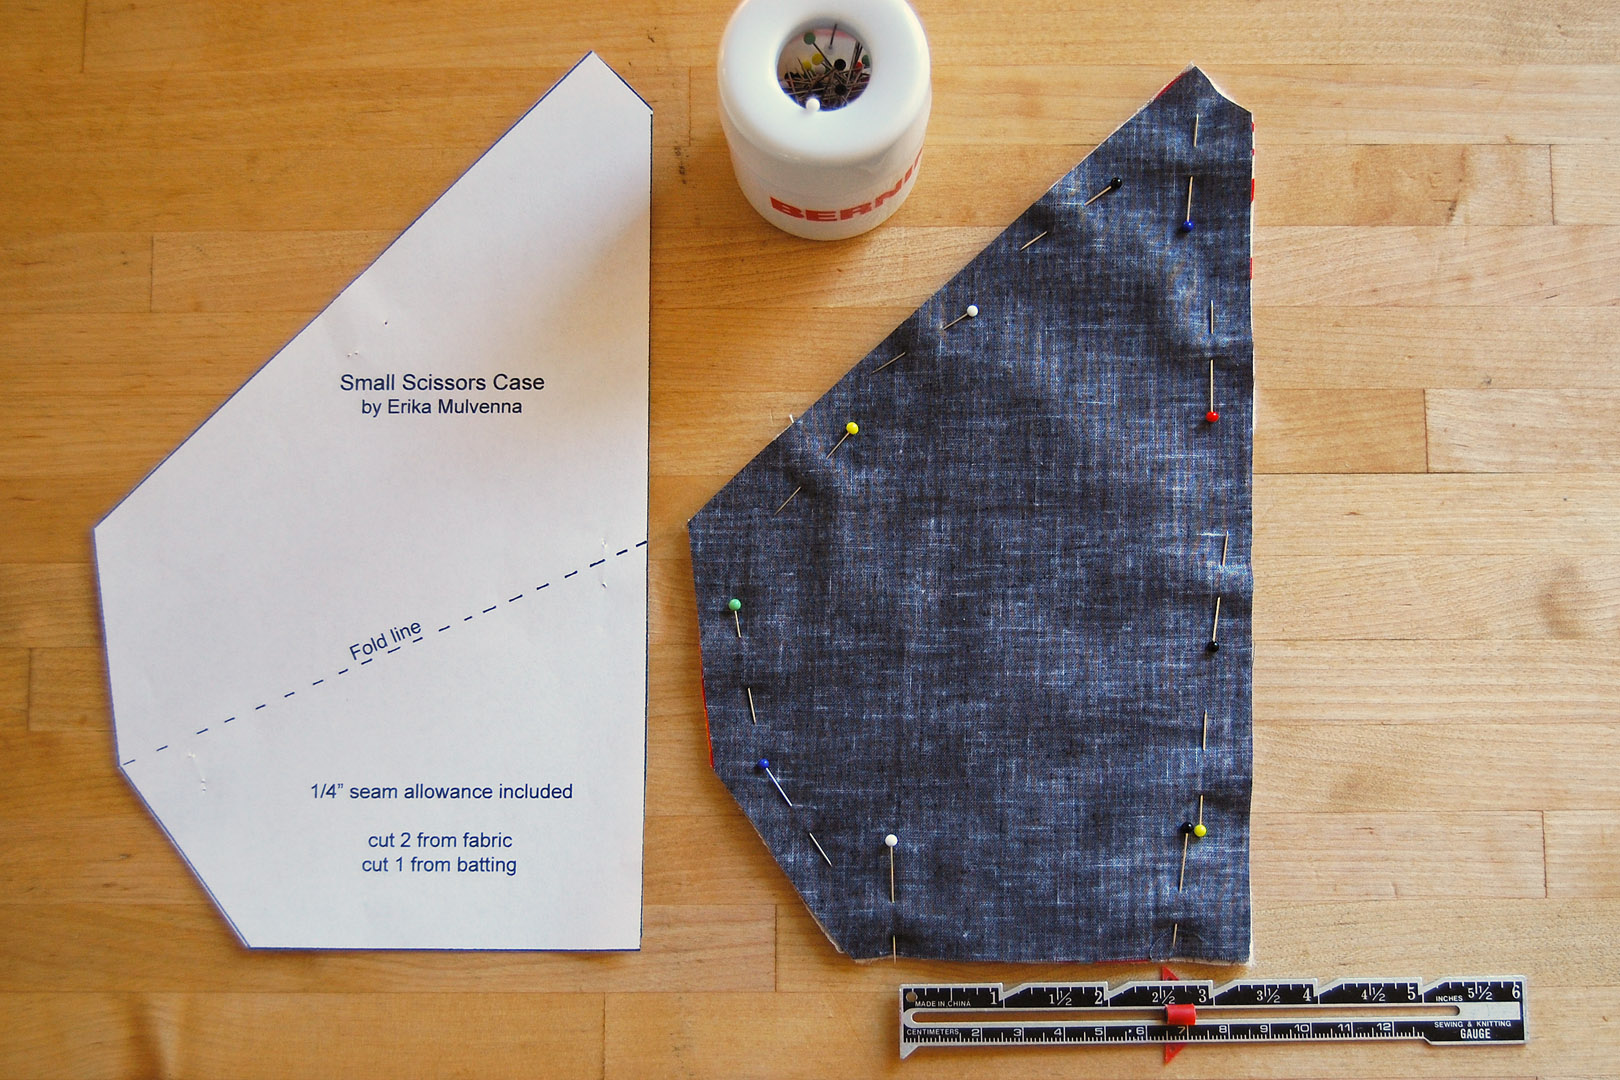
Layer the batting and fabric as follows; place the two fabric pieces right sides together, and place them on top of the batting as in the photo below.
Pin the pieces together, leaving a 2 1/2″ opening at the bottom of the pattern. This opening is for turning the pattern inside-out, and will be stitched closed in the last step.
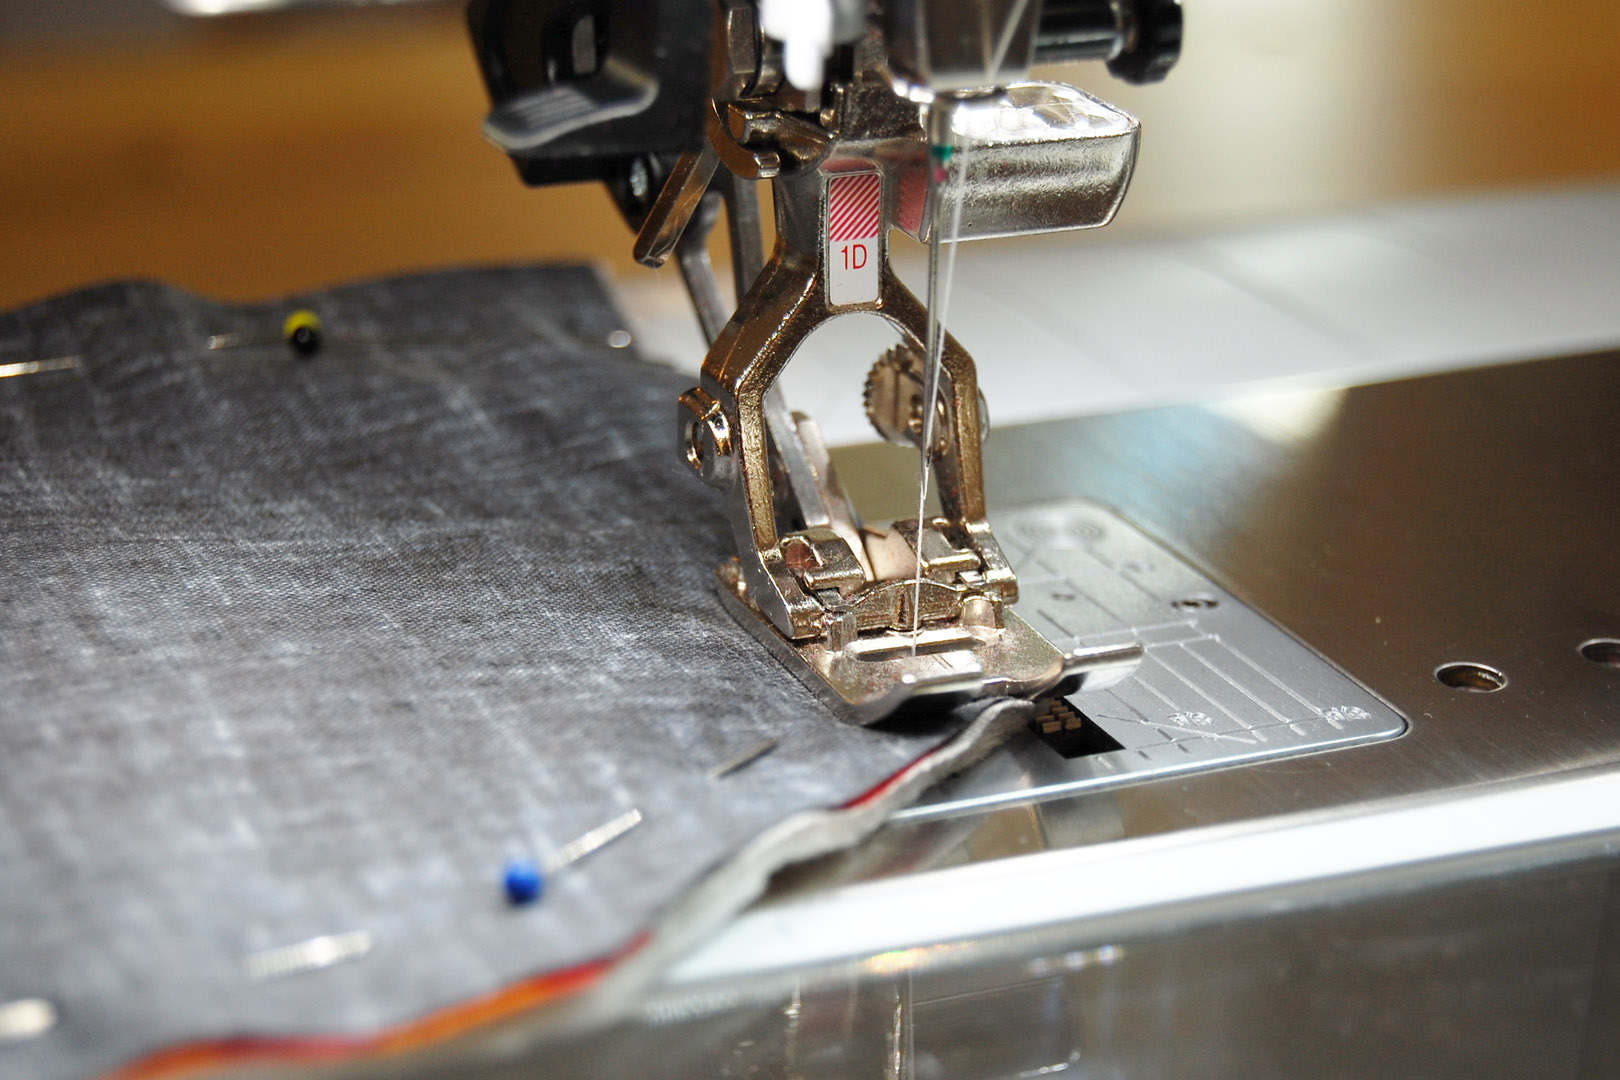
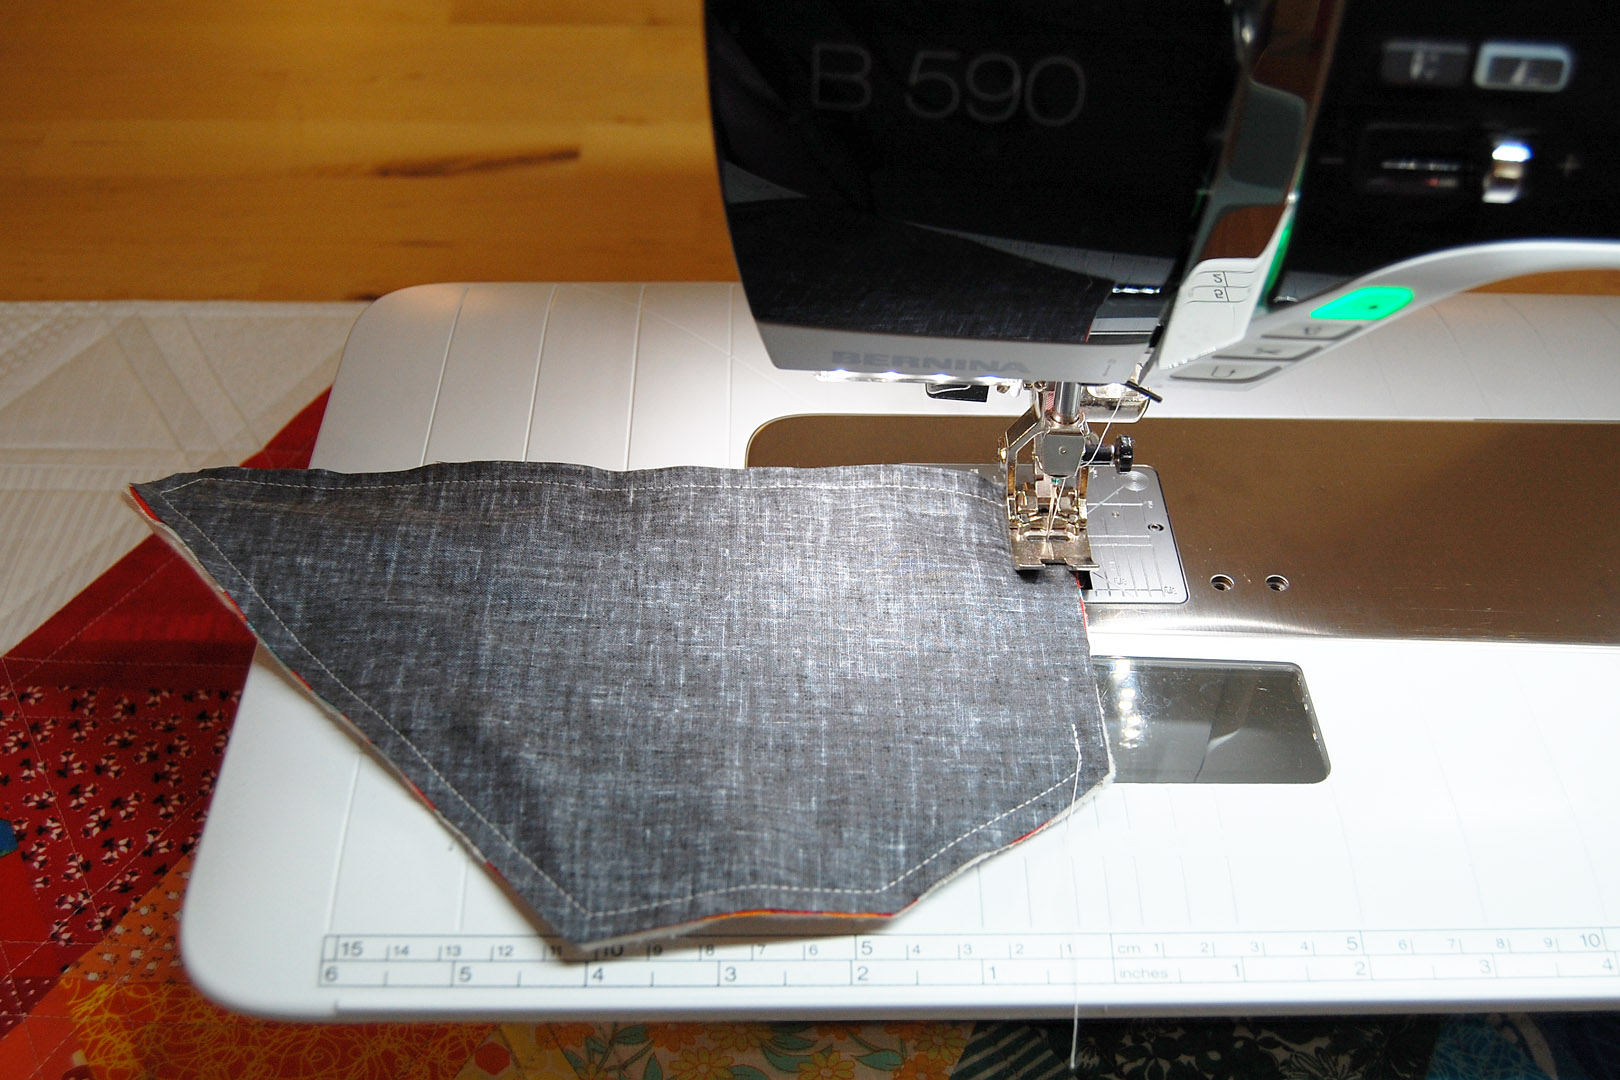
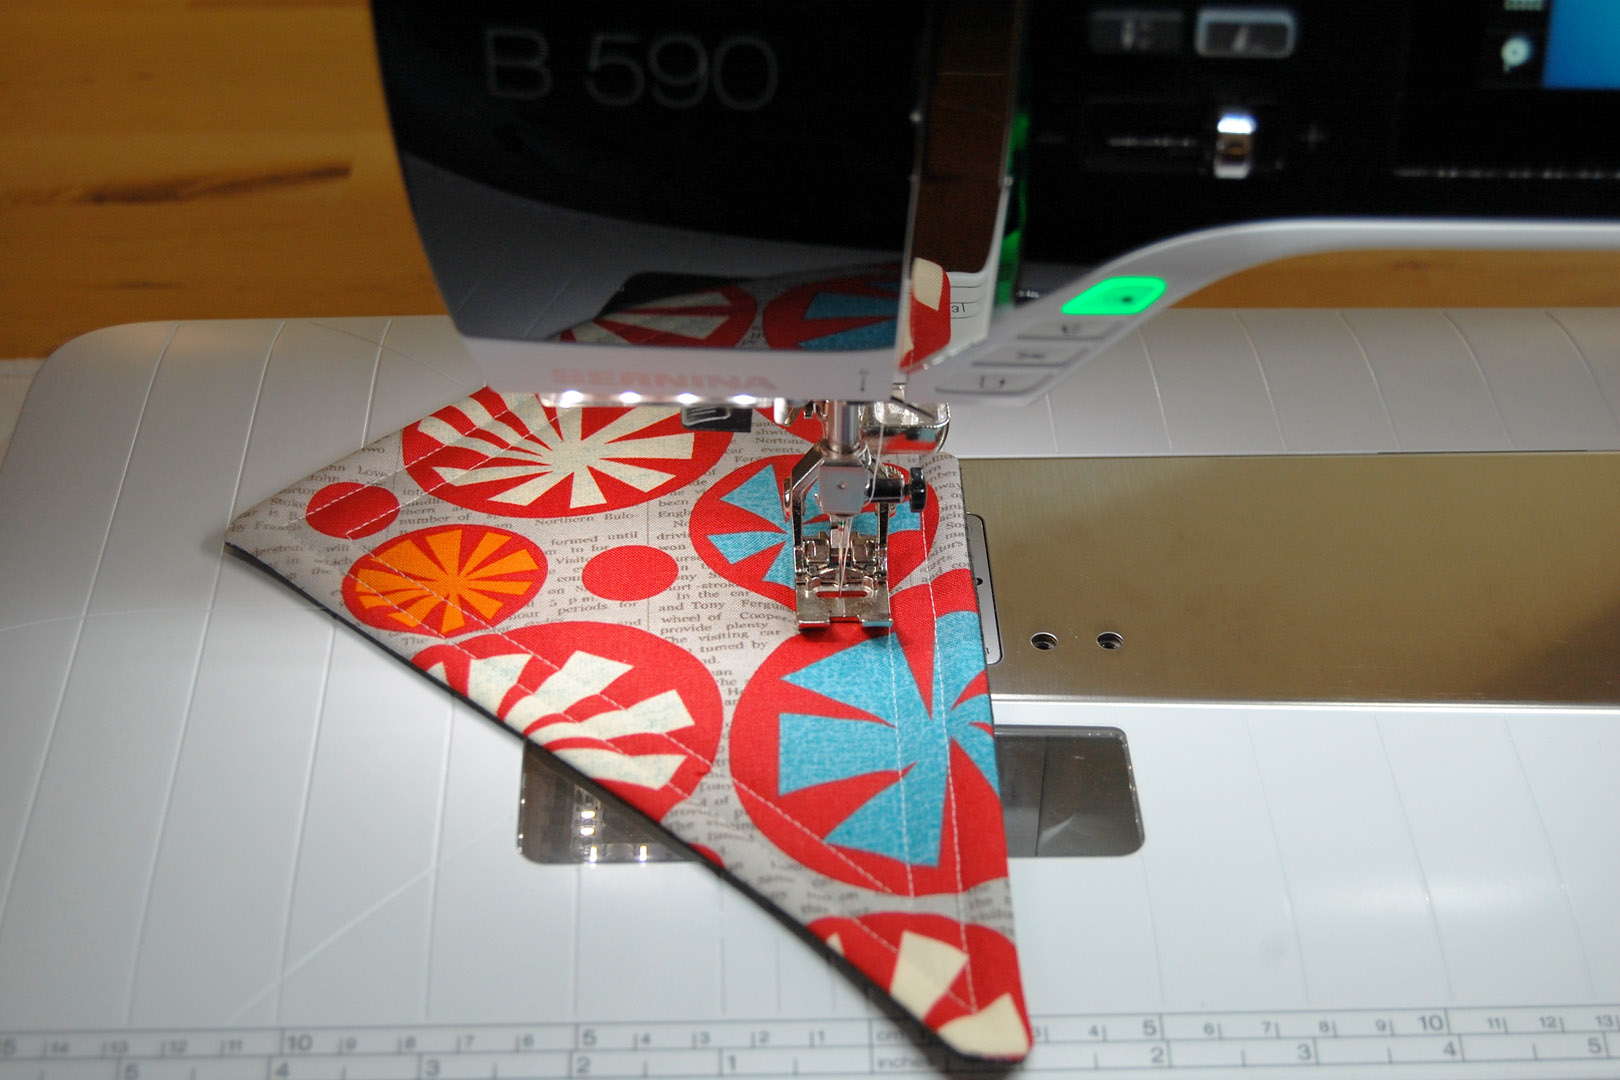
Set up your sewing machine to sew with thick layers. If your sewing machine is equipped with Dual Feed, use either Reverse pattern foot #1D or a Dual Feed patchwork foot like #37D or #97D. If you do not have Dual Feed, use the Walking foot #50. Using a walking foot or a Dual Feed foot will help the thick layers feed evenly through the sewing machine and help to prevent puckers or tucks in the fabric.

Start sewing with a 1/4″ seam allowance on one side of the 2 1/2″ opening, back-stitching a few times to help the stitches from coming unsewn while turning the project inside-out.
Sew all the way around the mini scissors case with a 1/4″ seam allowance, pivoting carefully around all corners. When you reach the other side of the 2 1/2″ opening, create a strong finish by back-stitching a few times.
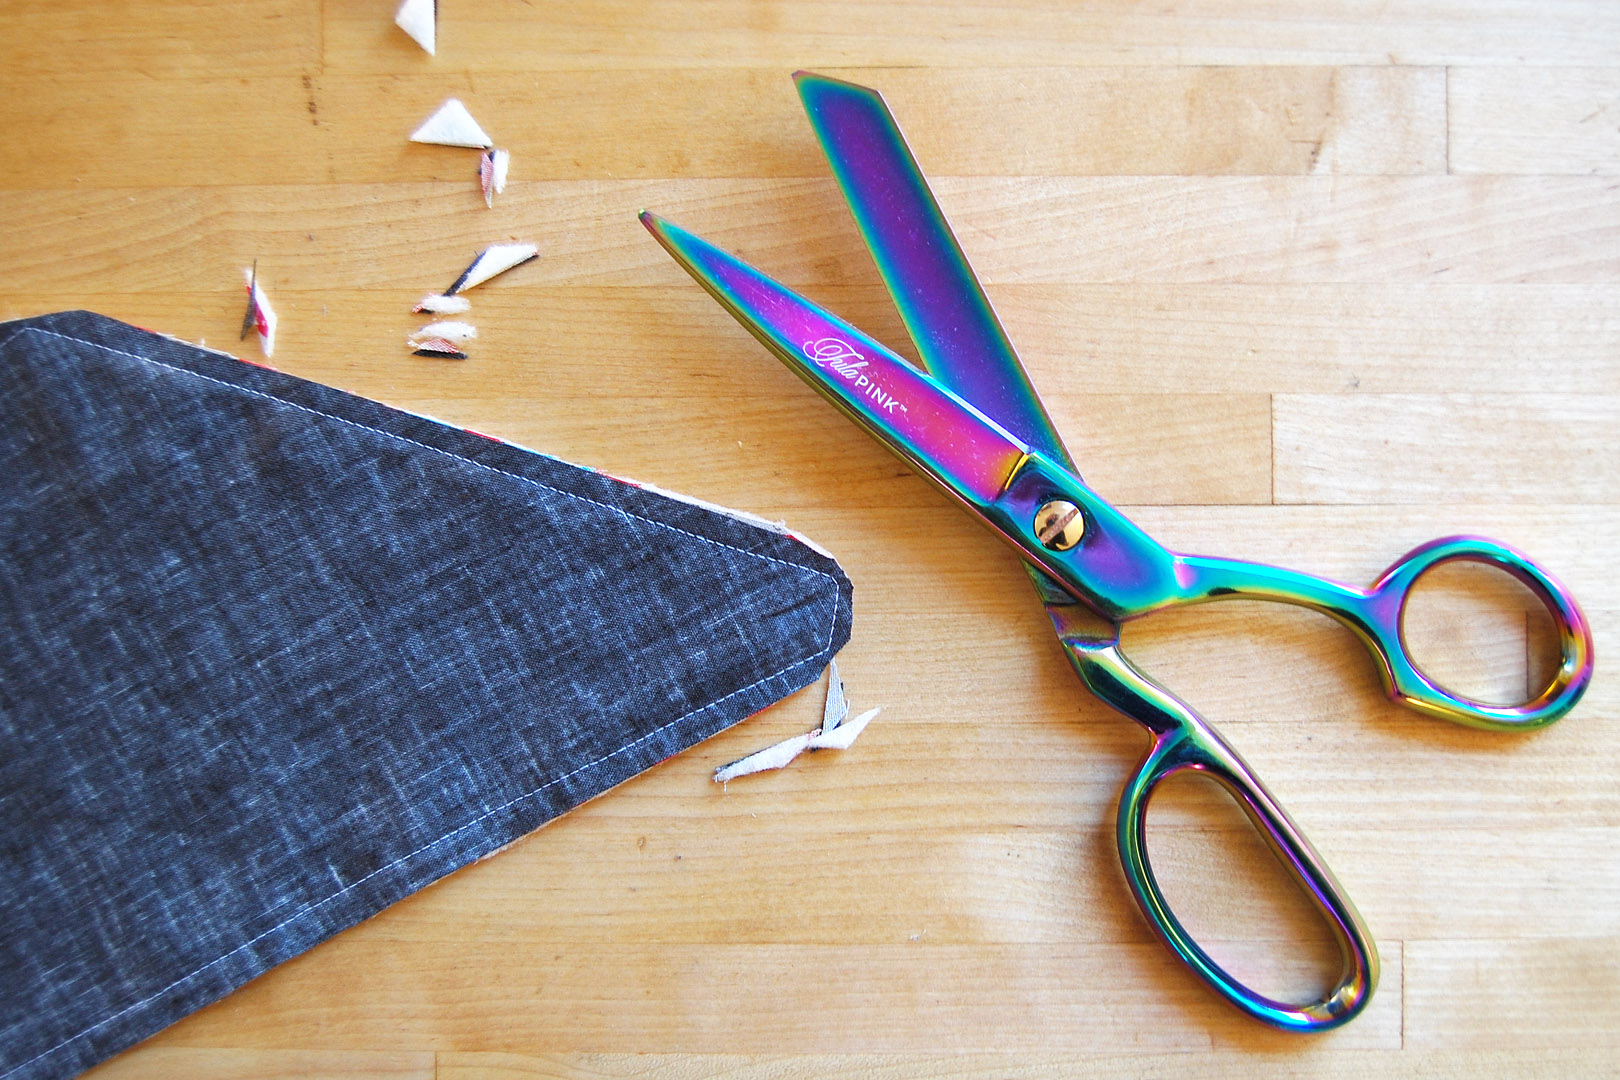
Clip corners close to stitching.
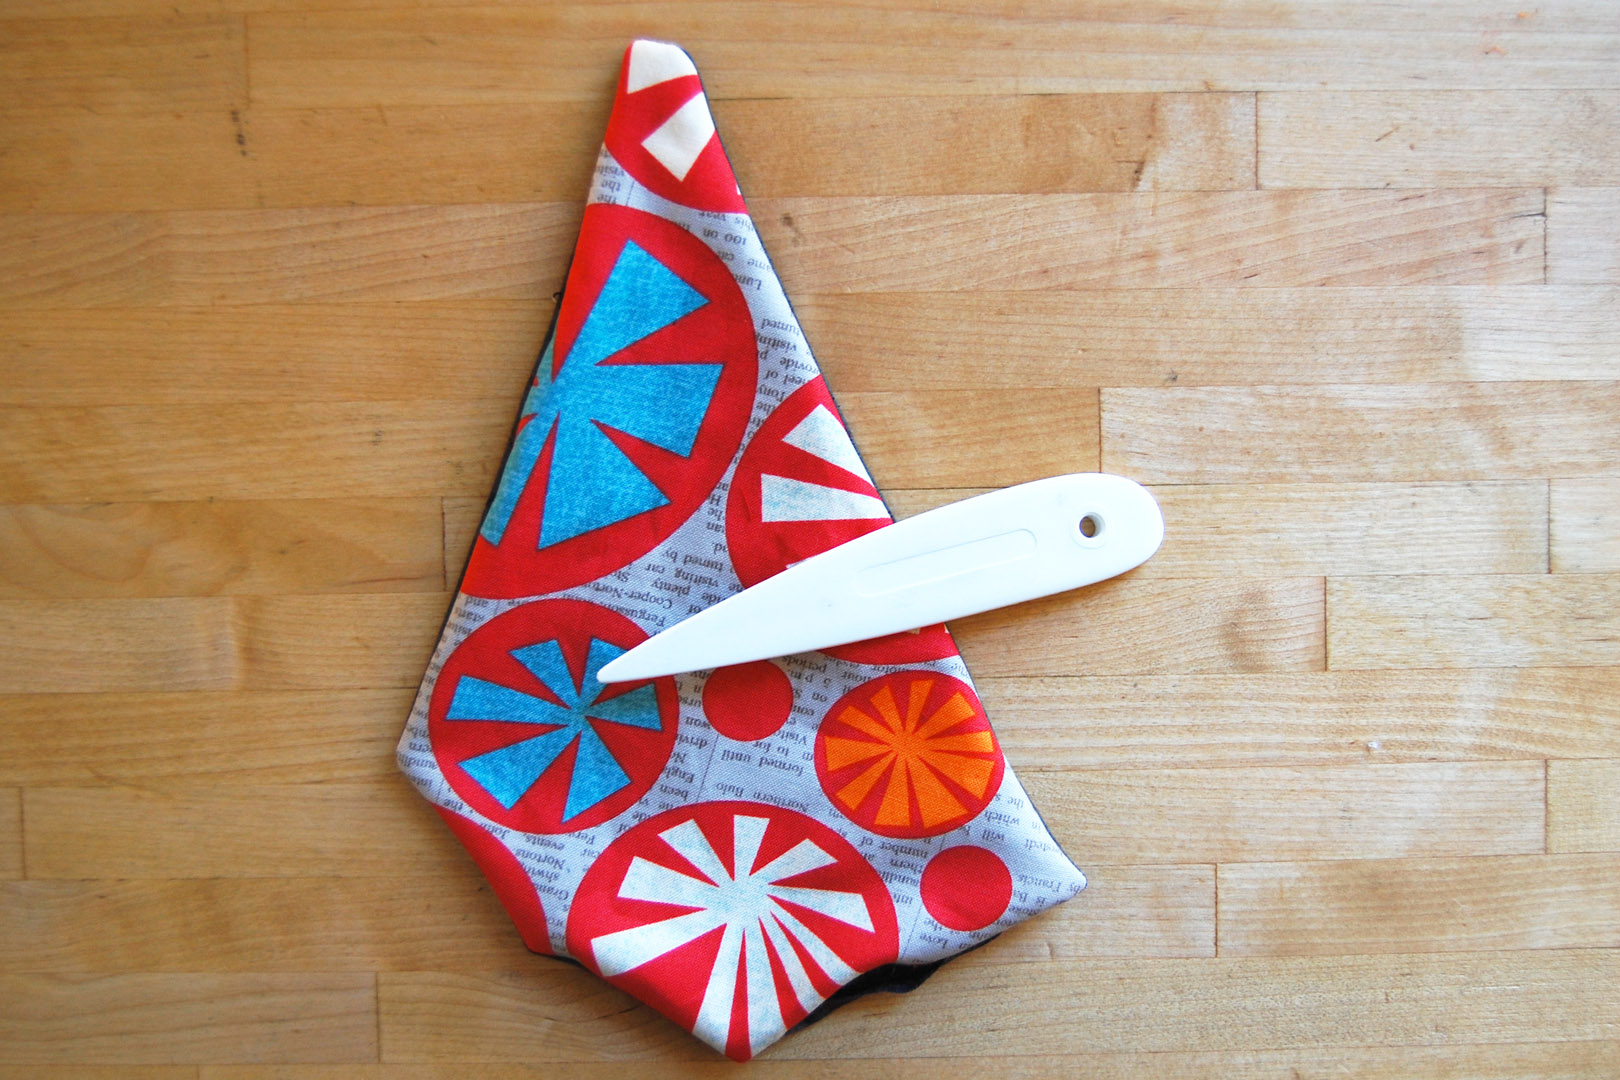
Turn the mini scissors case inside-out through the opening, using a point turner or eraser end of a pencil to carefully push out the corners.
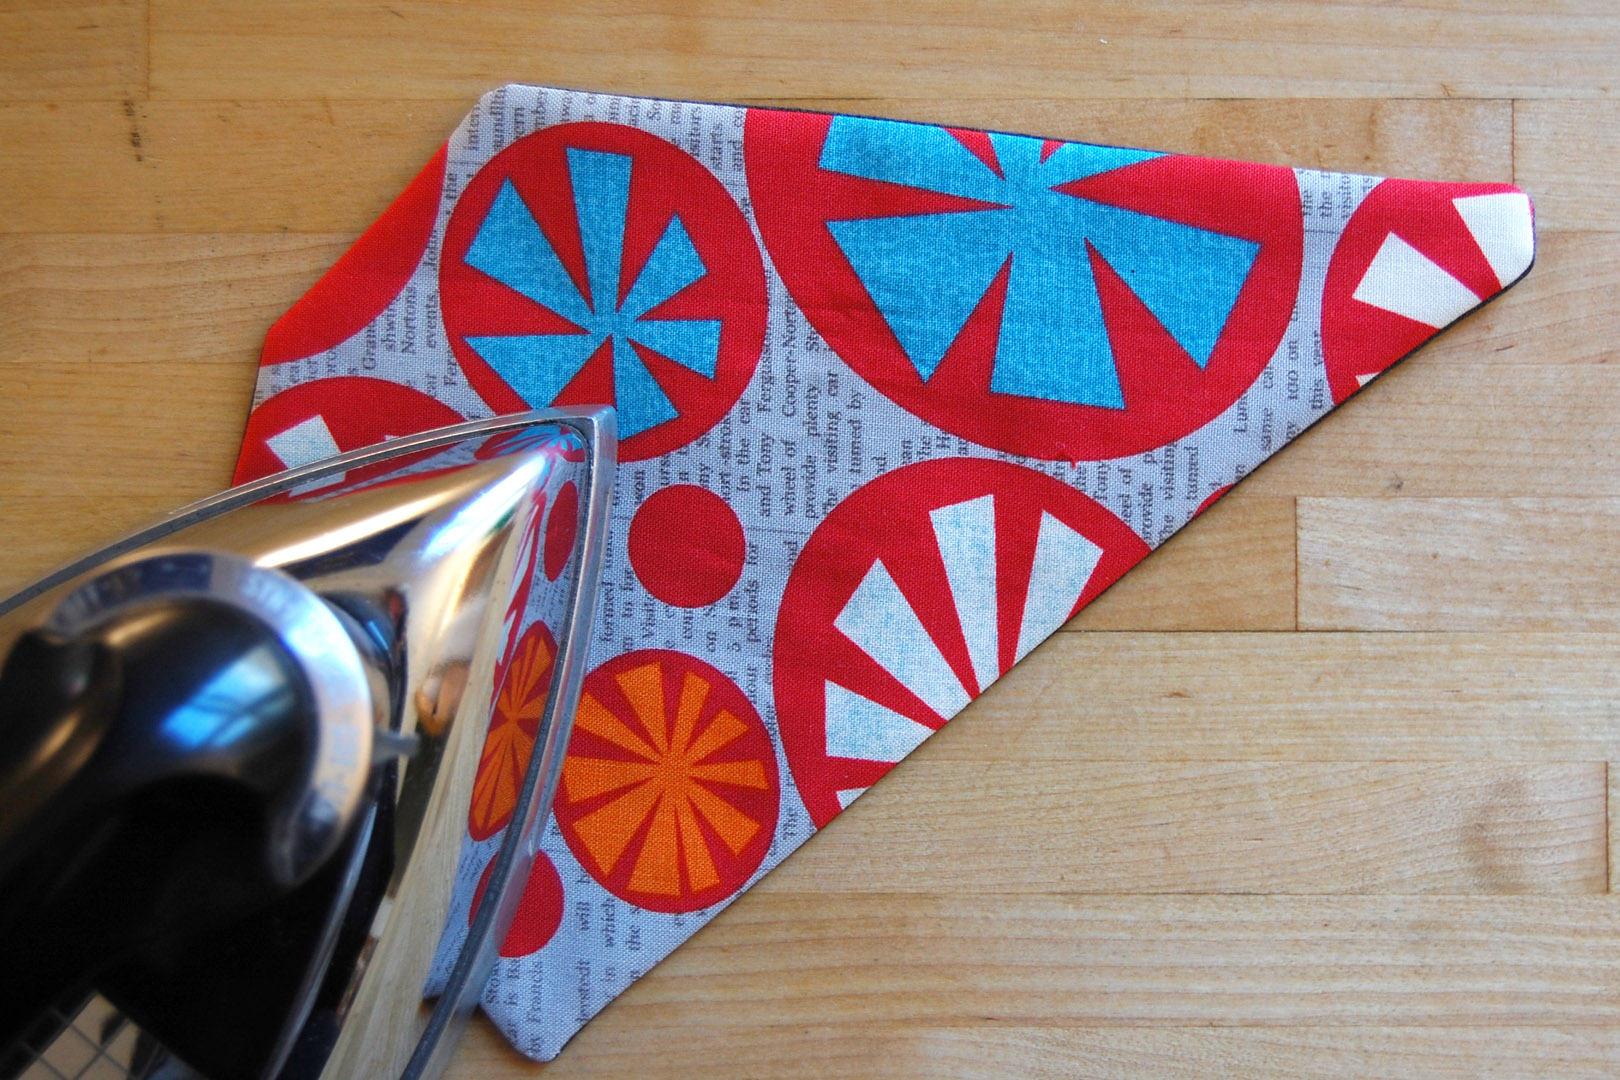
Press well, turning under the opening 1/4″.
Quilt the mini scissors case however you choose. I like to do a bit of straight line quilting following the outside edges of the pattern, using the edge of my Reverse pattern foot #1D to follow the prevous line of stitching as I go.
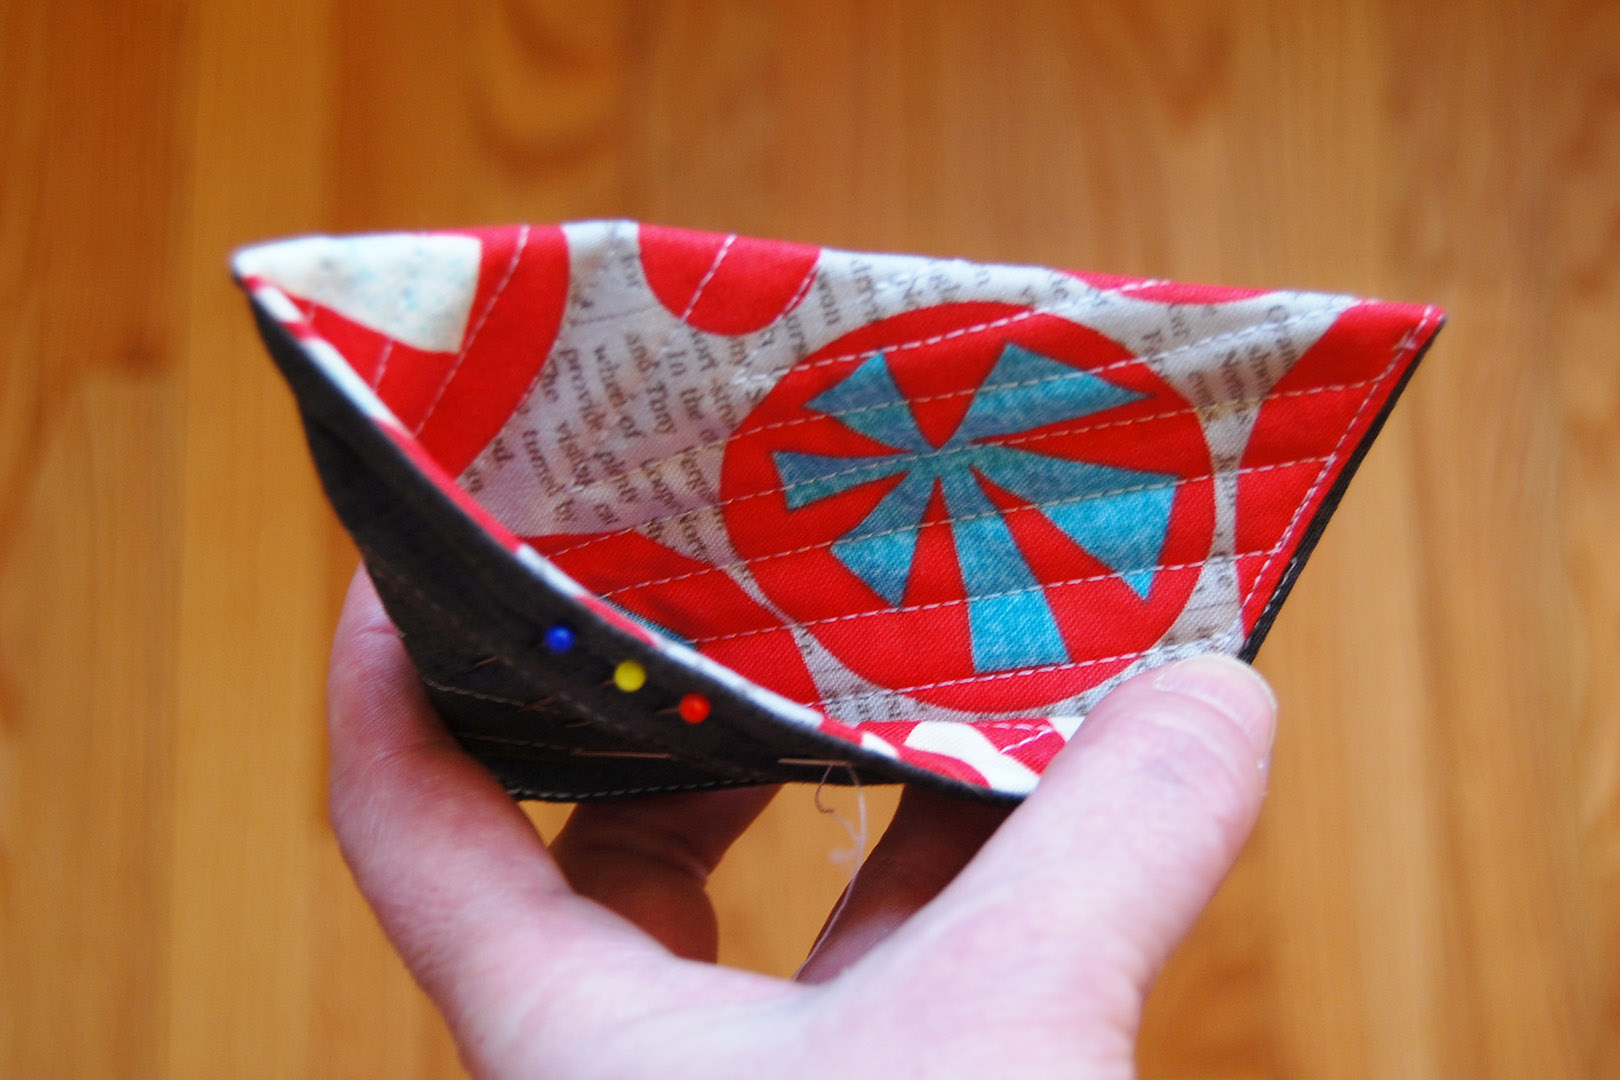
Once quilted, follow the fold line on the original pattern to make the scissors pocket portion of the case. You will note that the inside/outside fabrics change depending on which way you fold this part of the case – so make sure you like it! Once folded, press well.
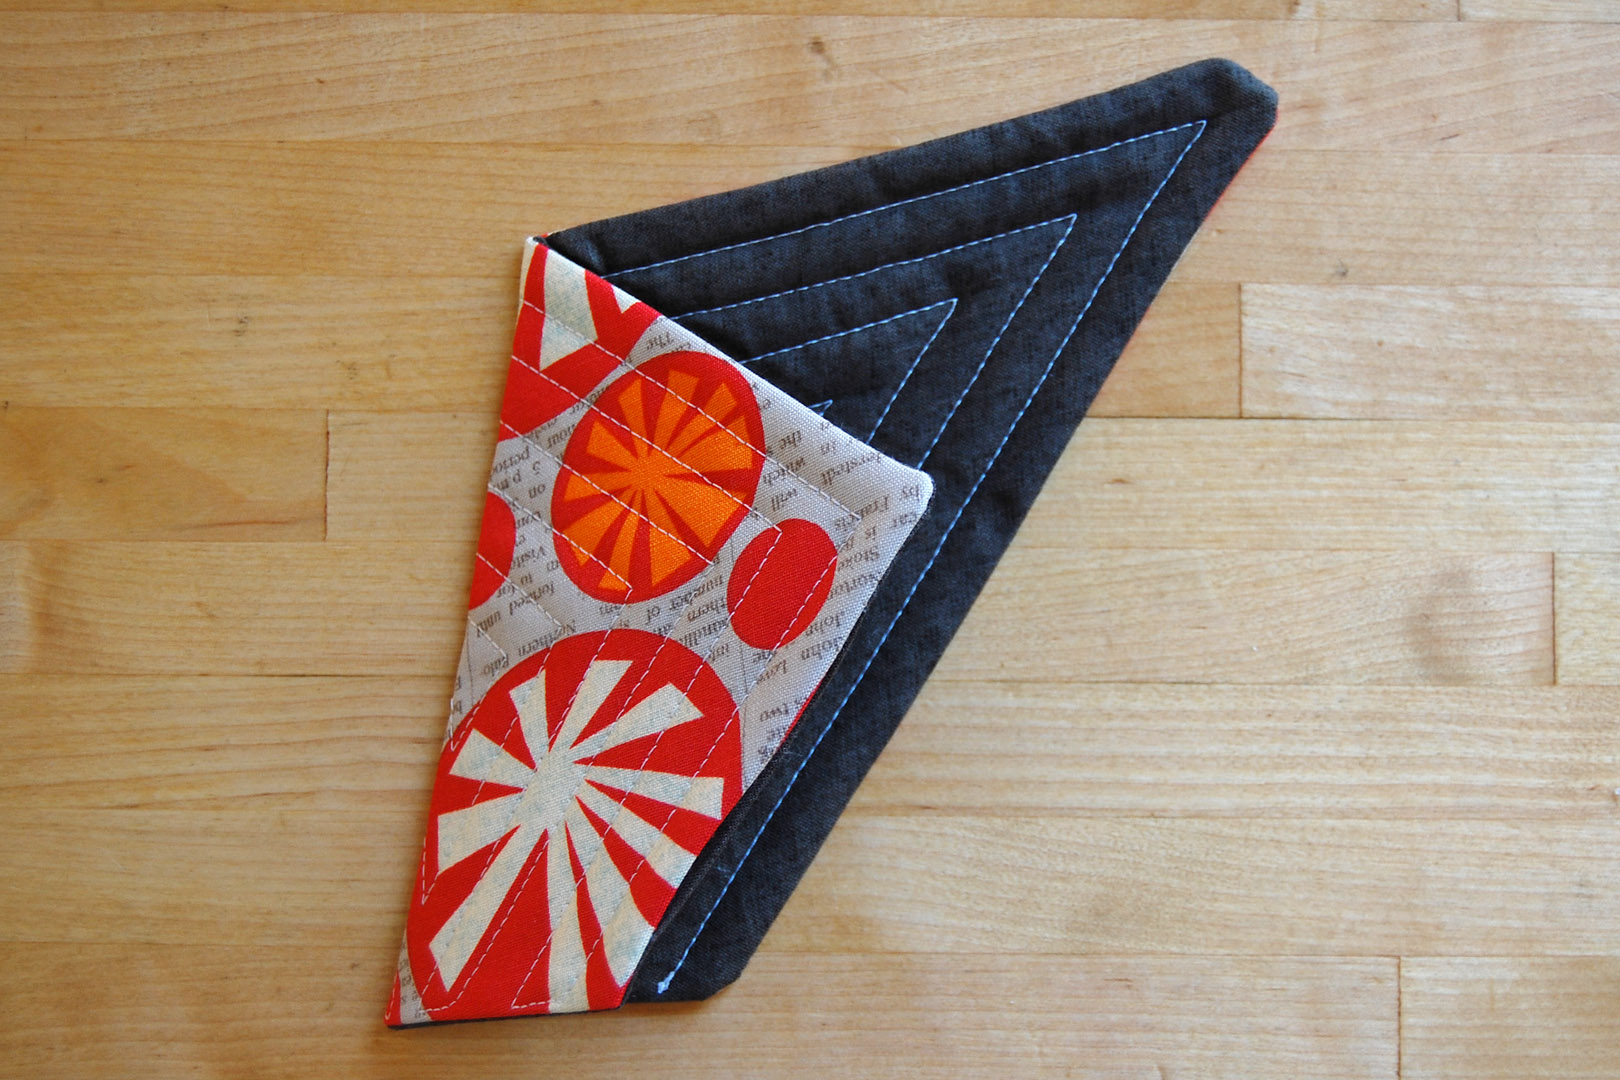
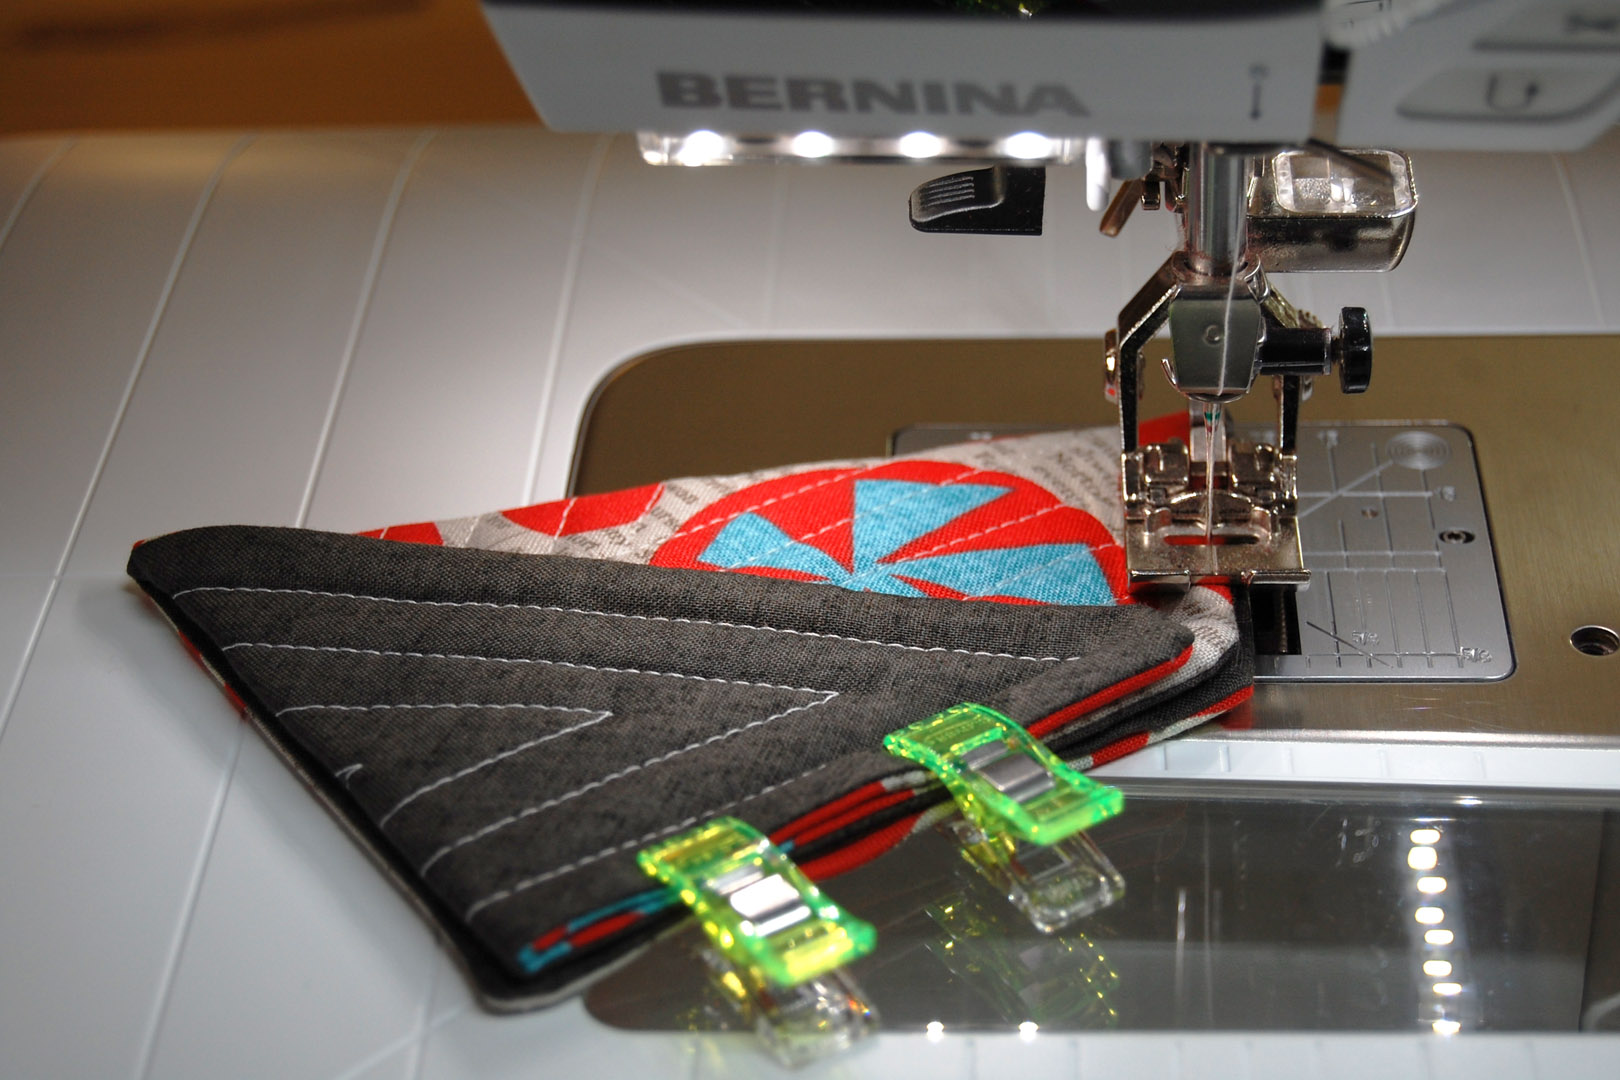
Flip the case over so the long pointed end is up, and fold this pointed end over, even with the side of the case. This will create the pocket and needle minder. Once folded, press well.
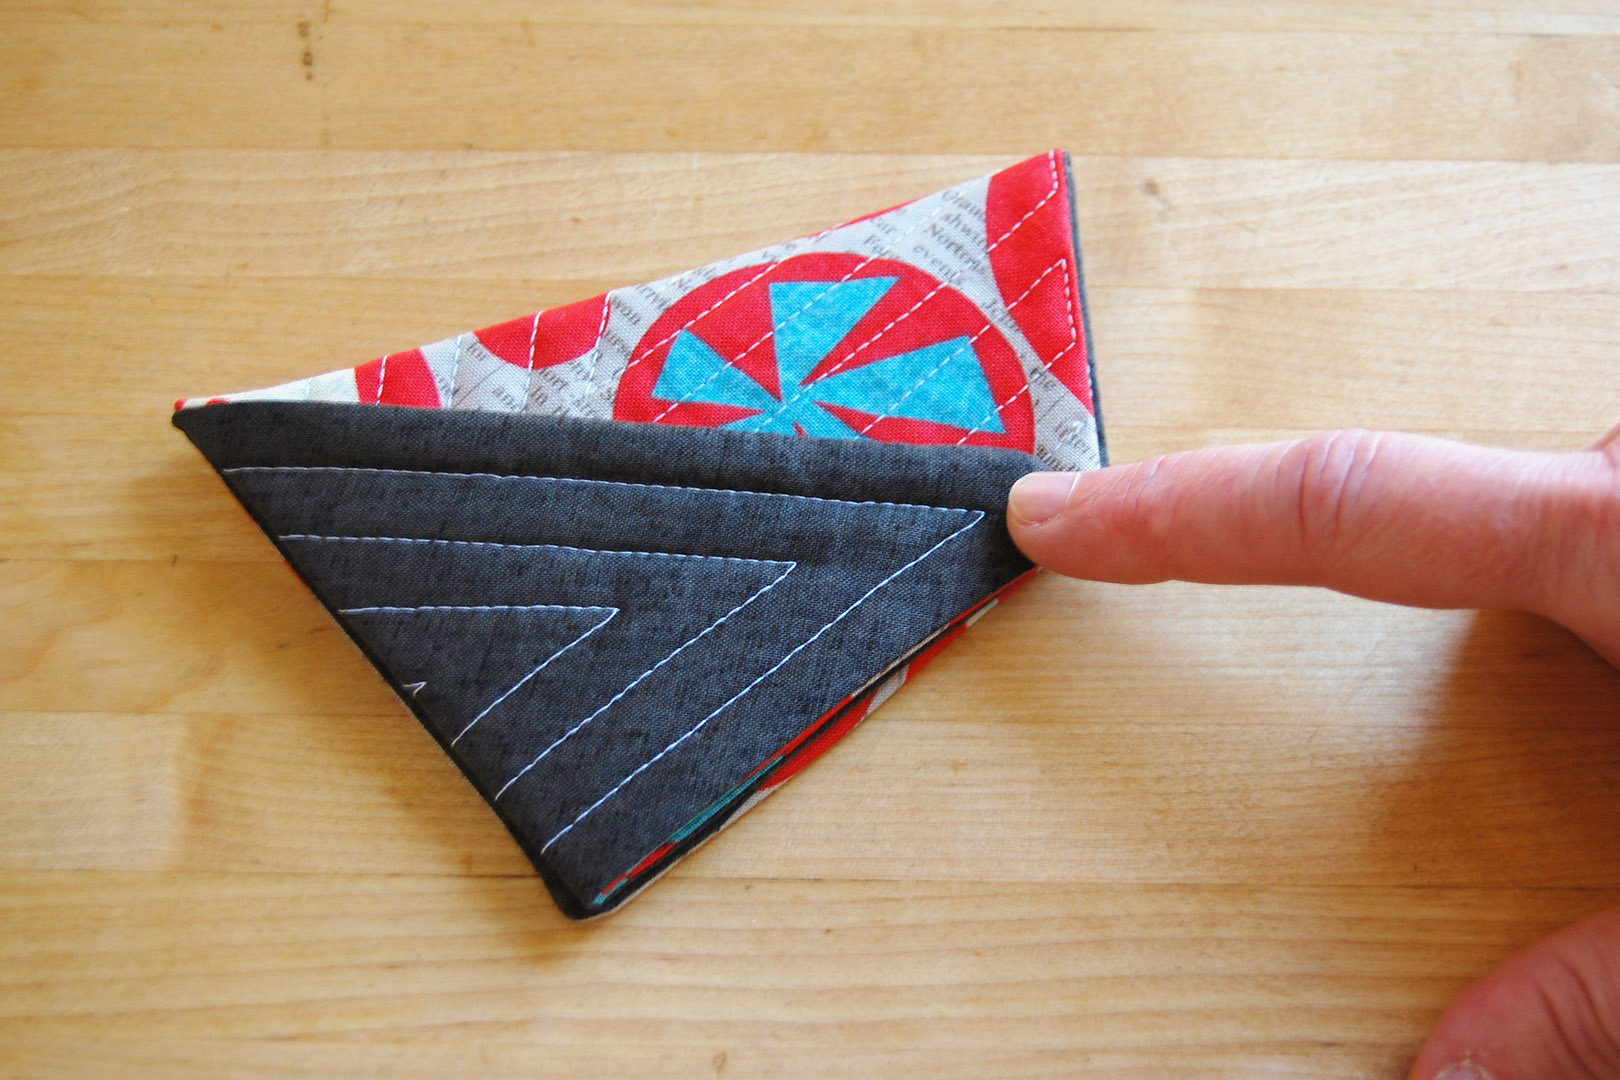
Use clips to hold the folded case together.
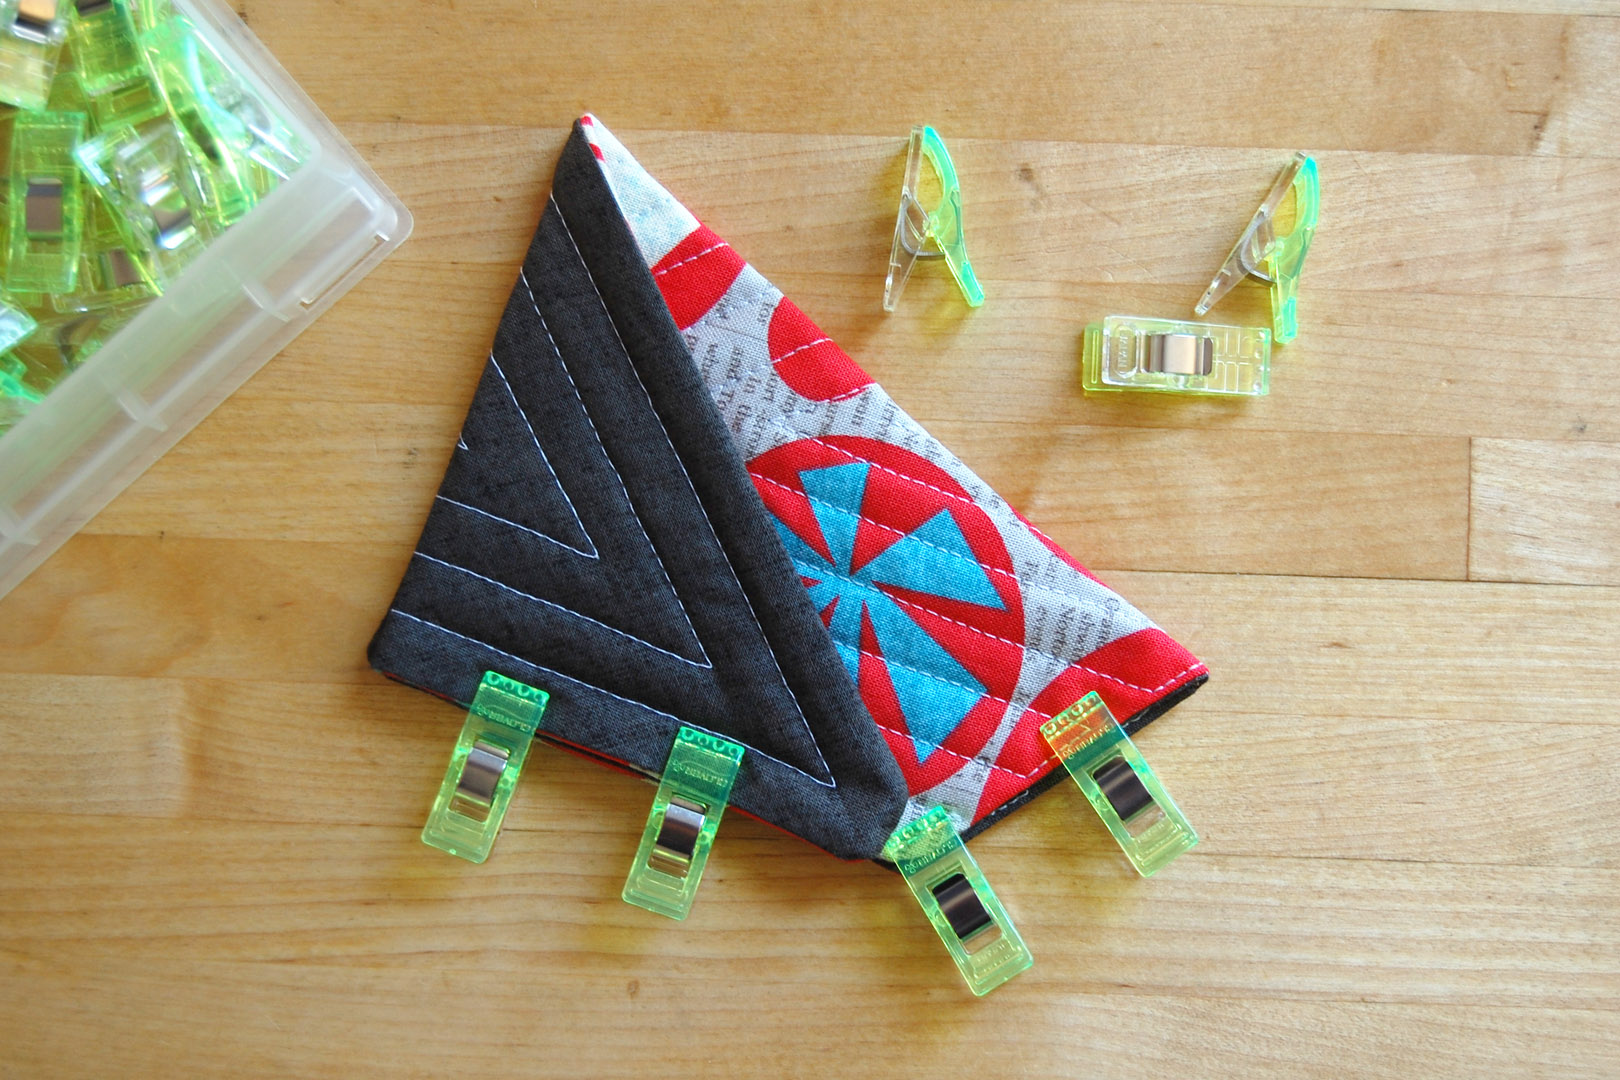
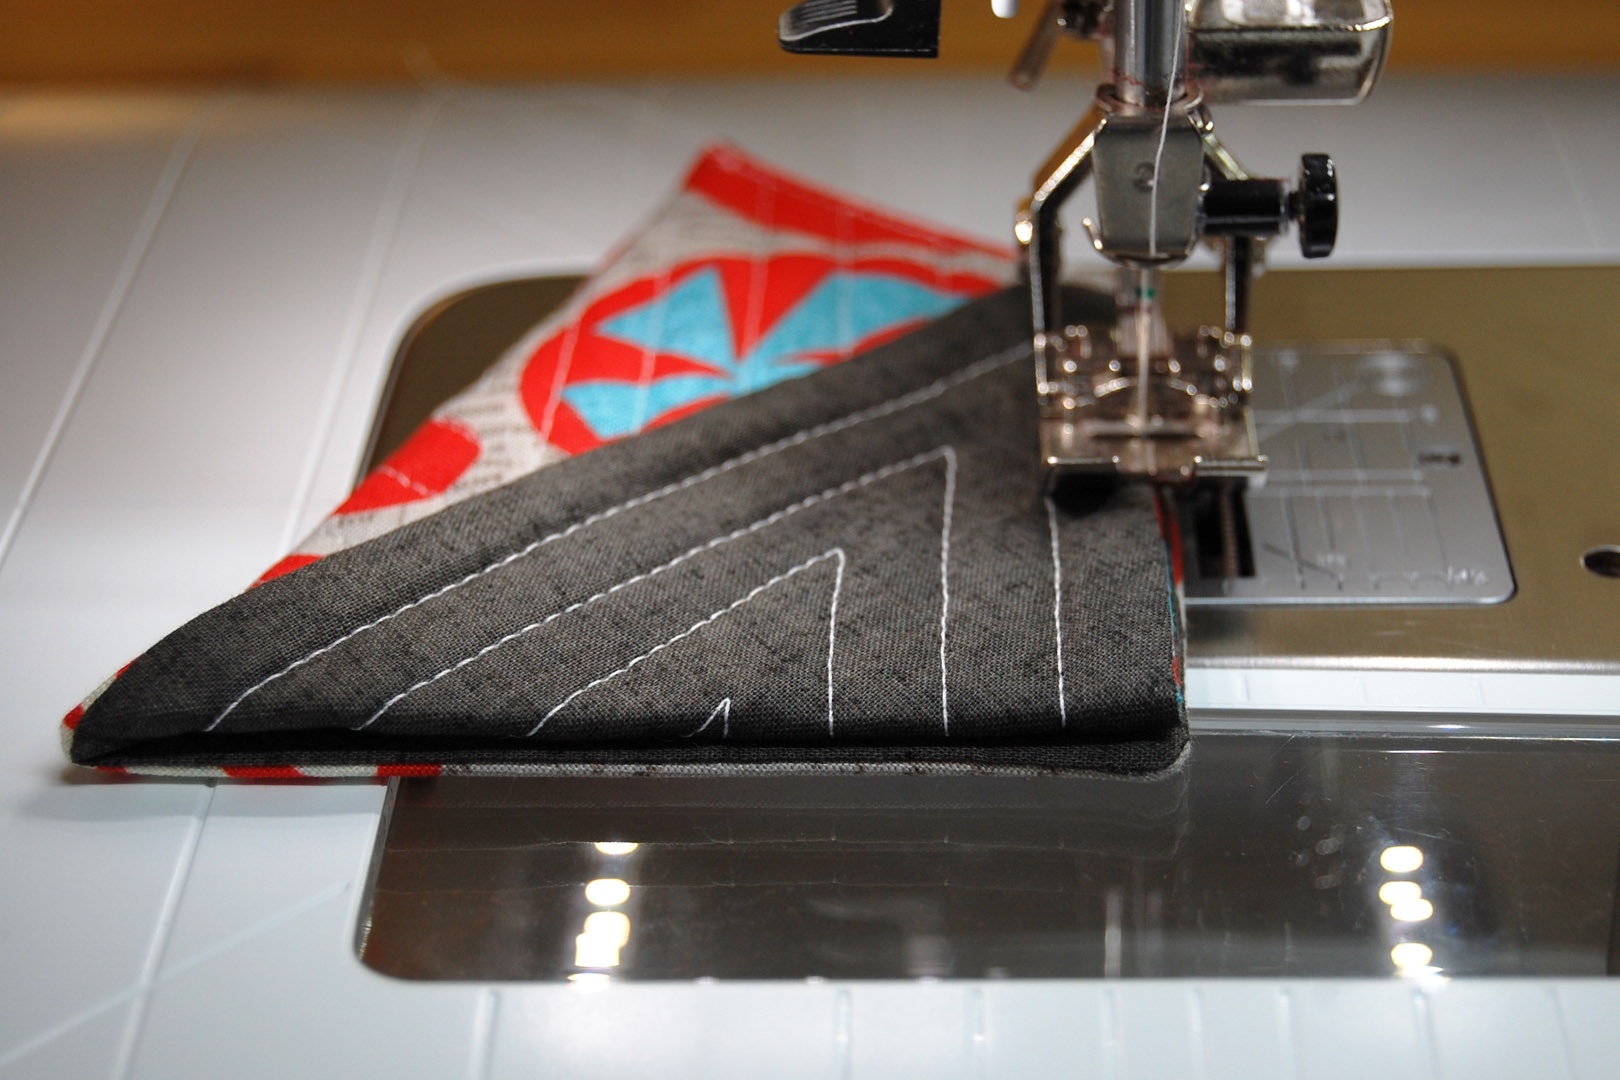
Stitch right along the very edge of the case. This is where the Dual Feed or the Walking foot #50 really comes in handy!
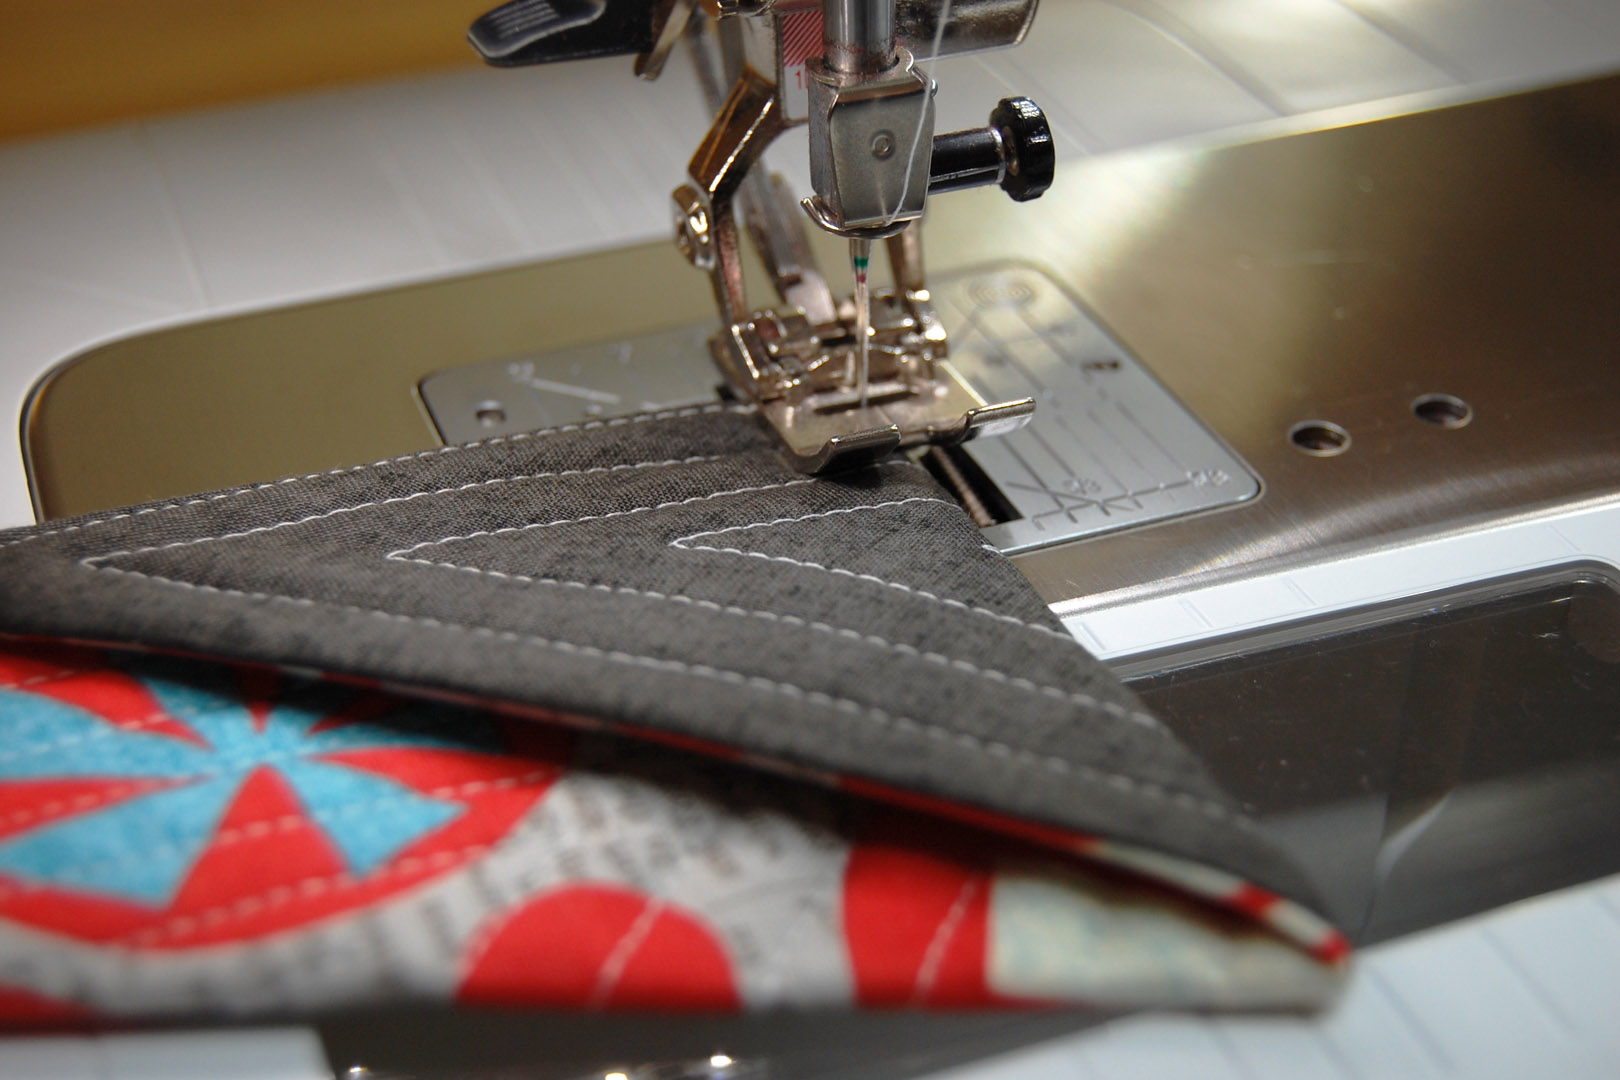
Stitch slowly and carefully, pivoting at the corner.
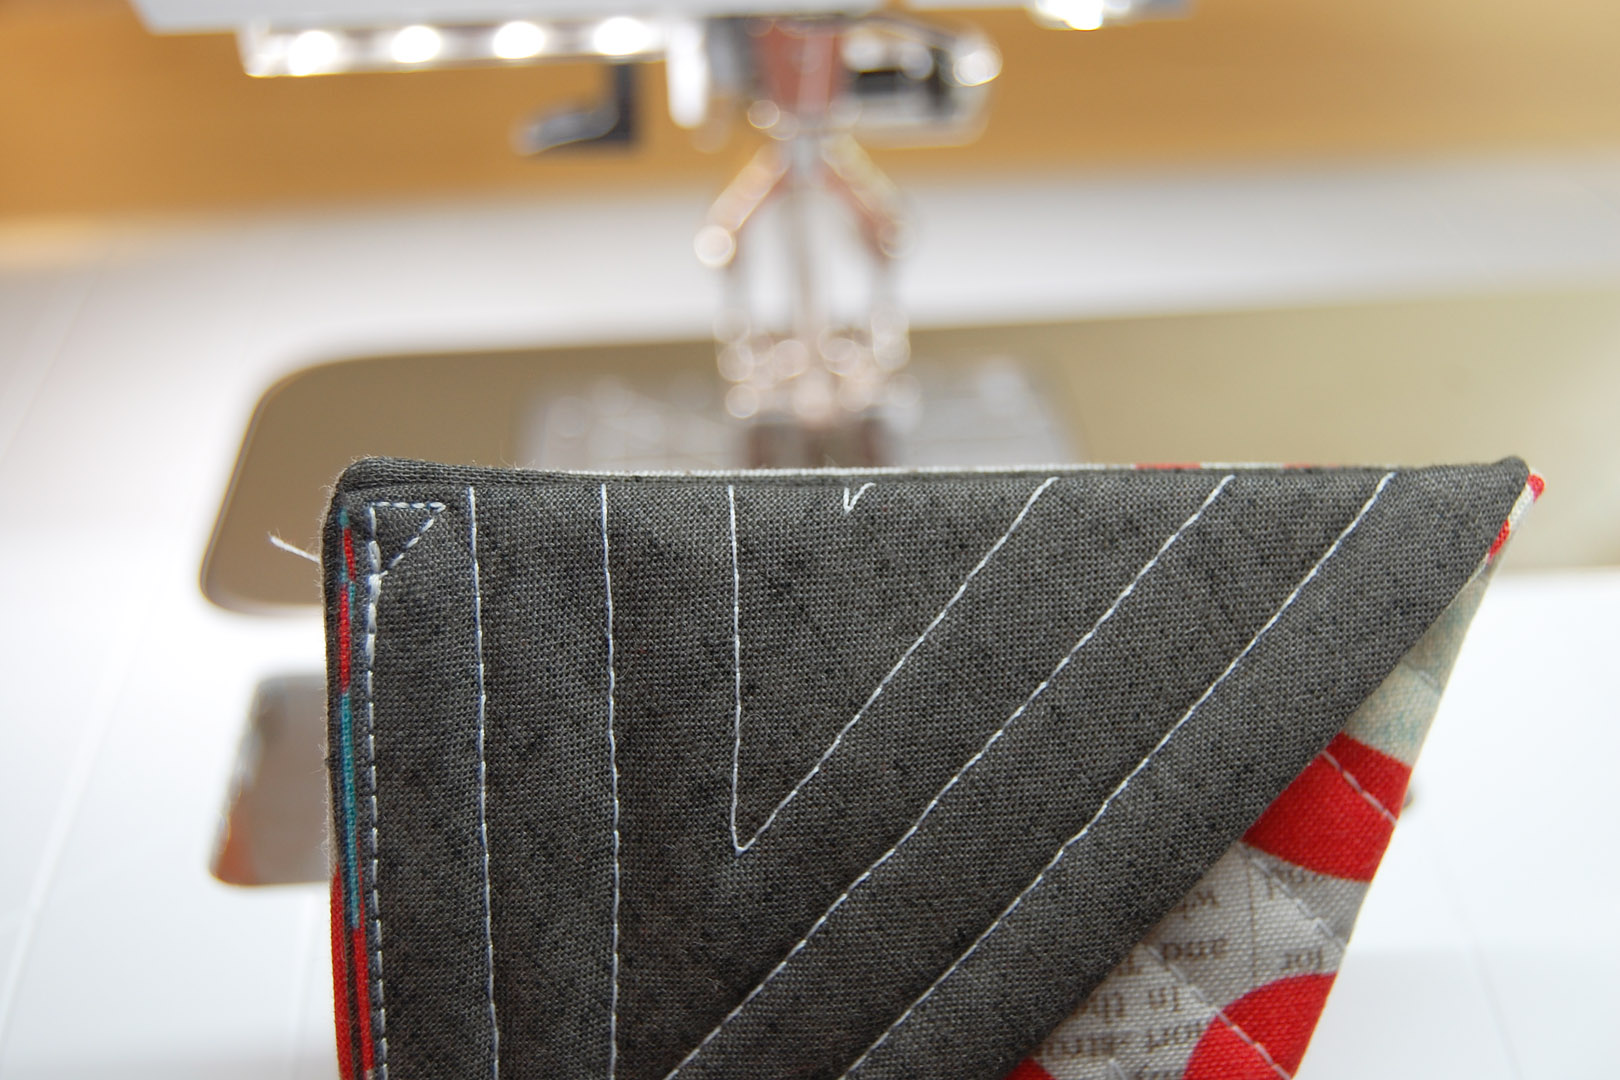
When you sew to the top edge of the case, pivot and sew a small triangle to help strengthen this corner.
Sew across the top edge two or three stitches, and then pivot back to the edge a few stitches. You’ll get a triangle just like you see pictured below.
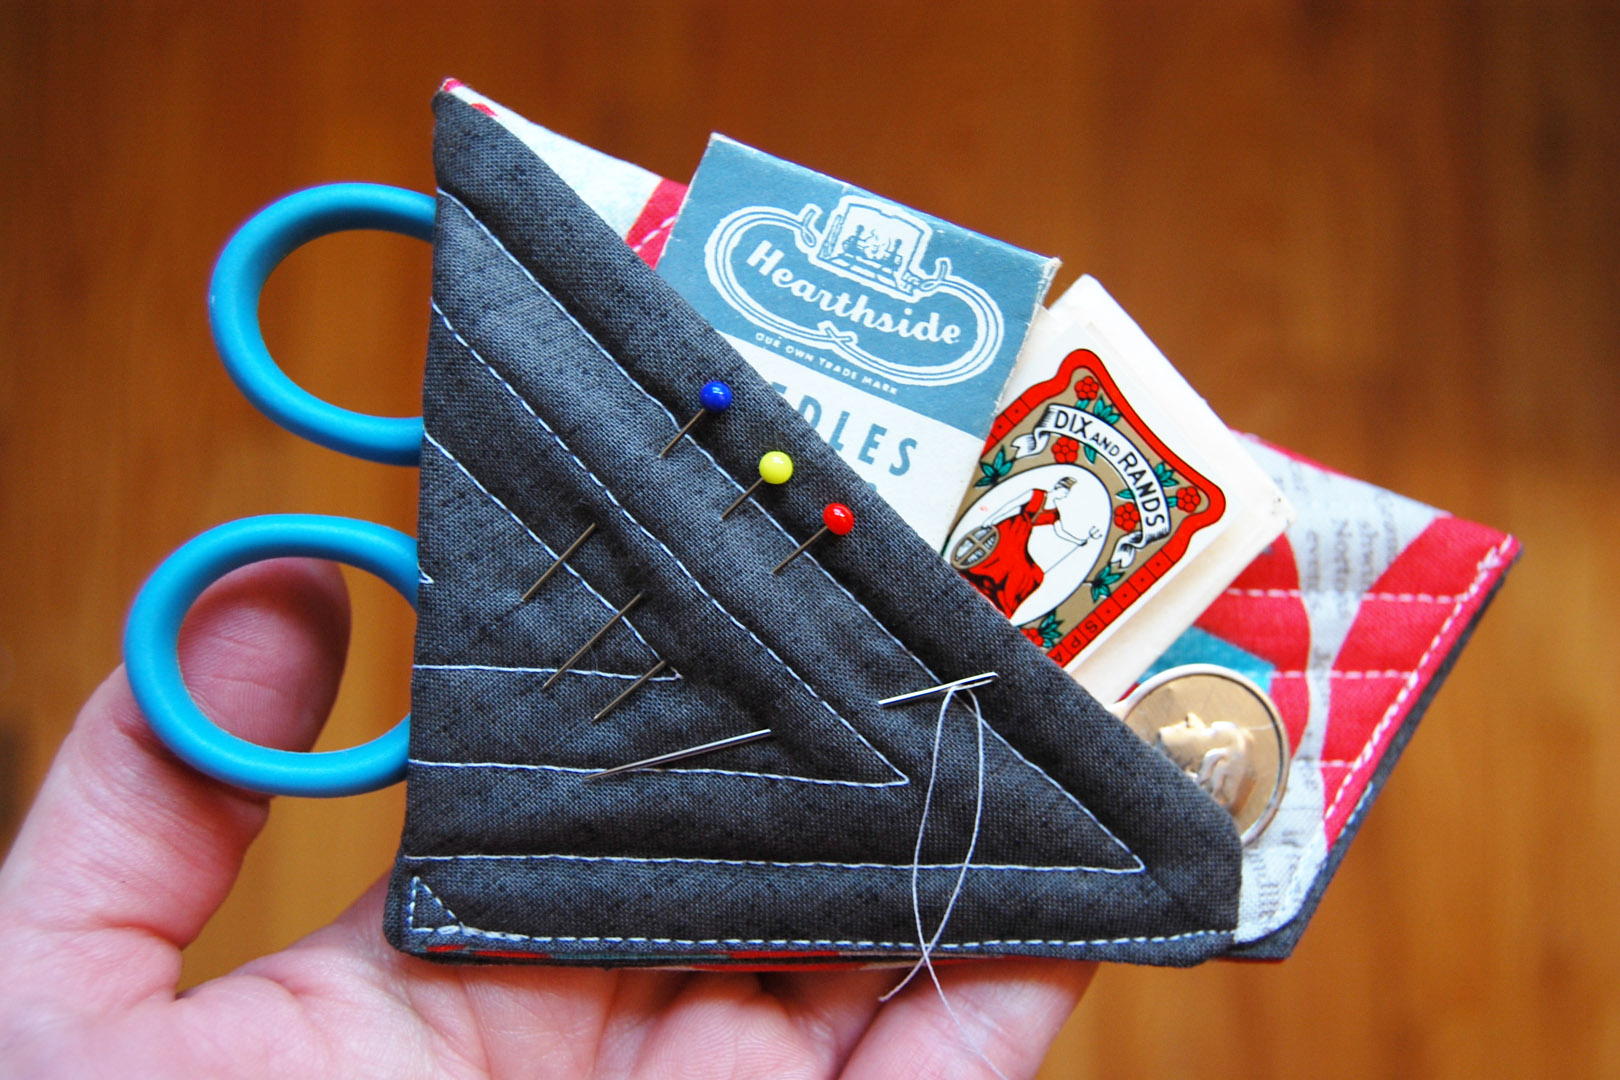
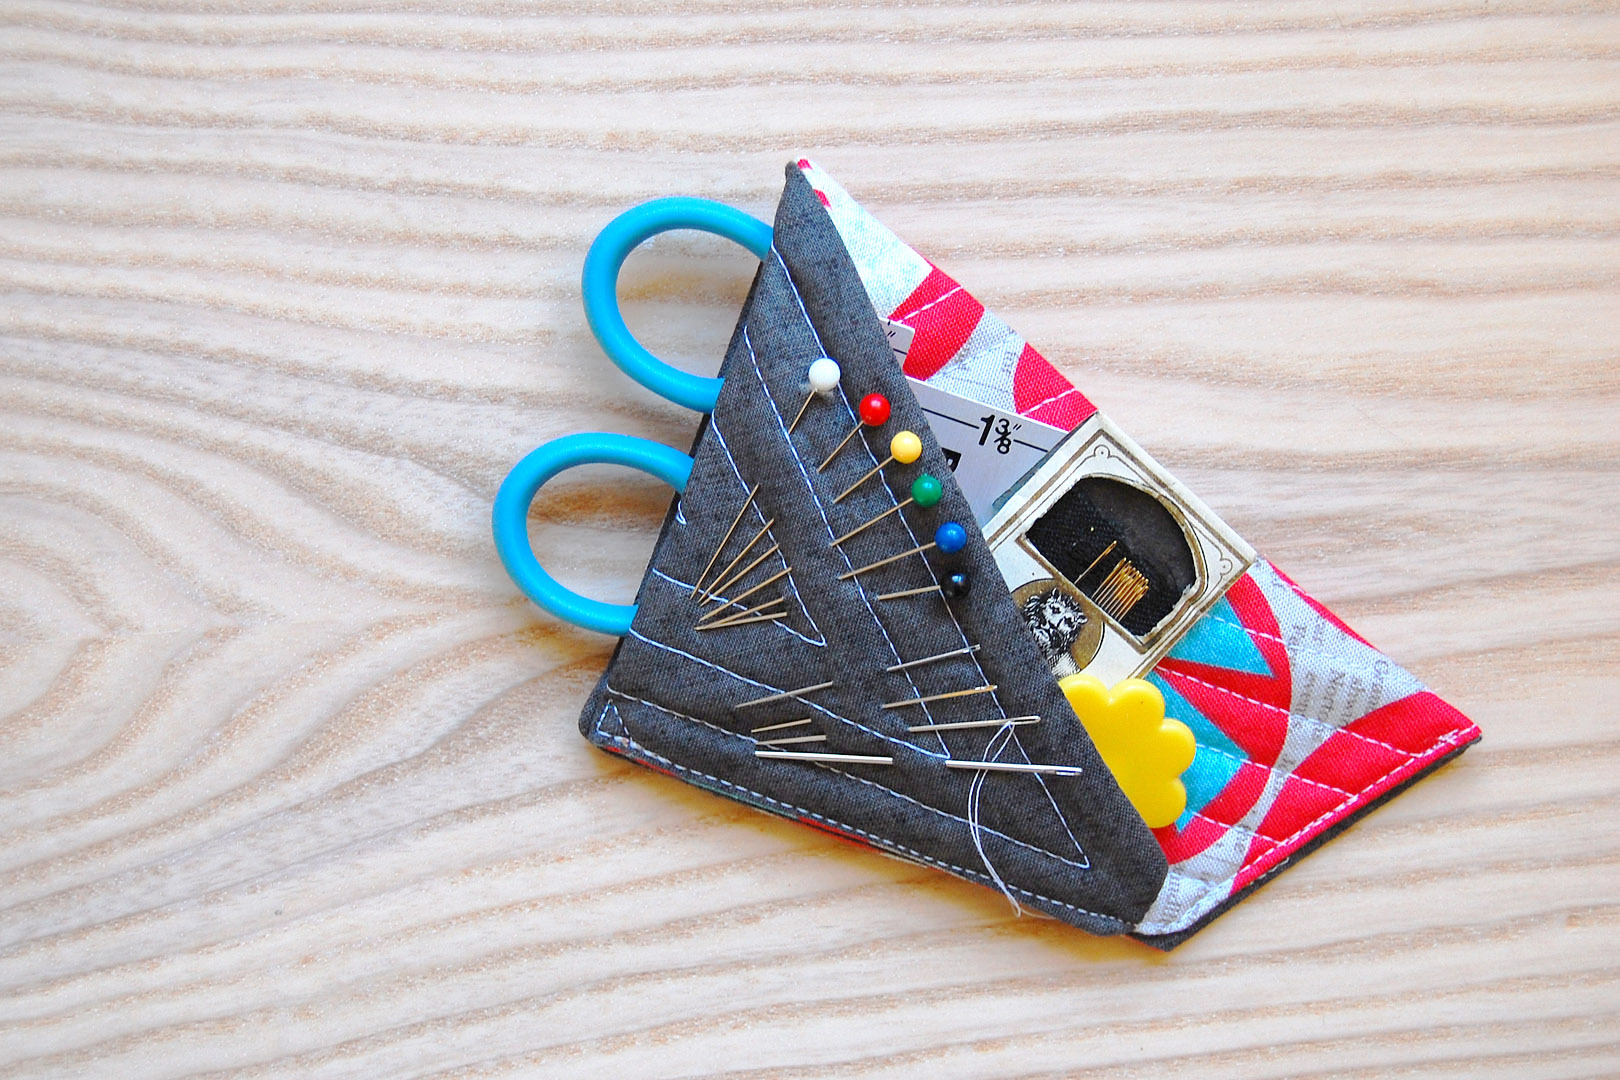
Pop your thread snips in the big middle pocket,
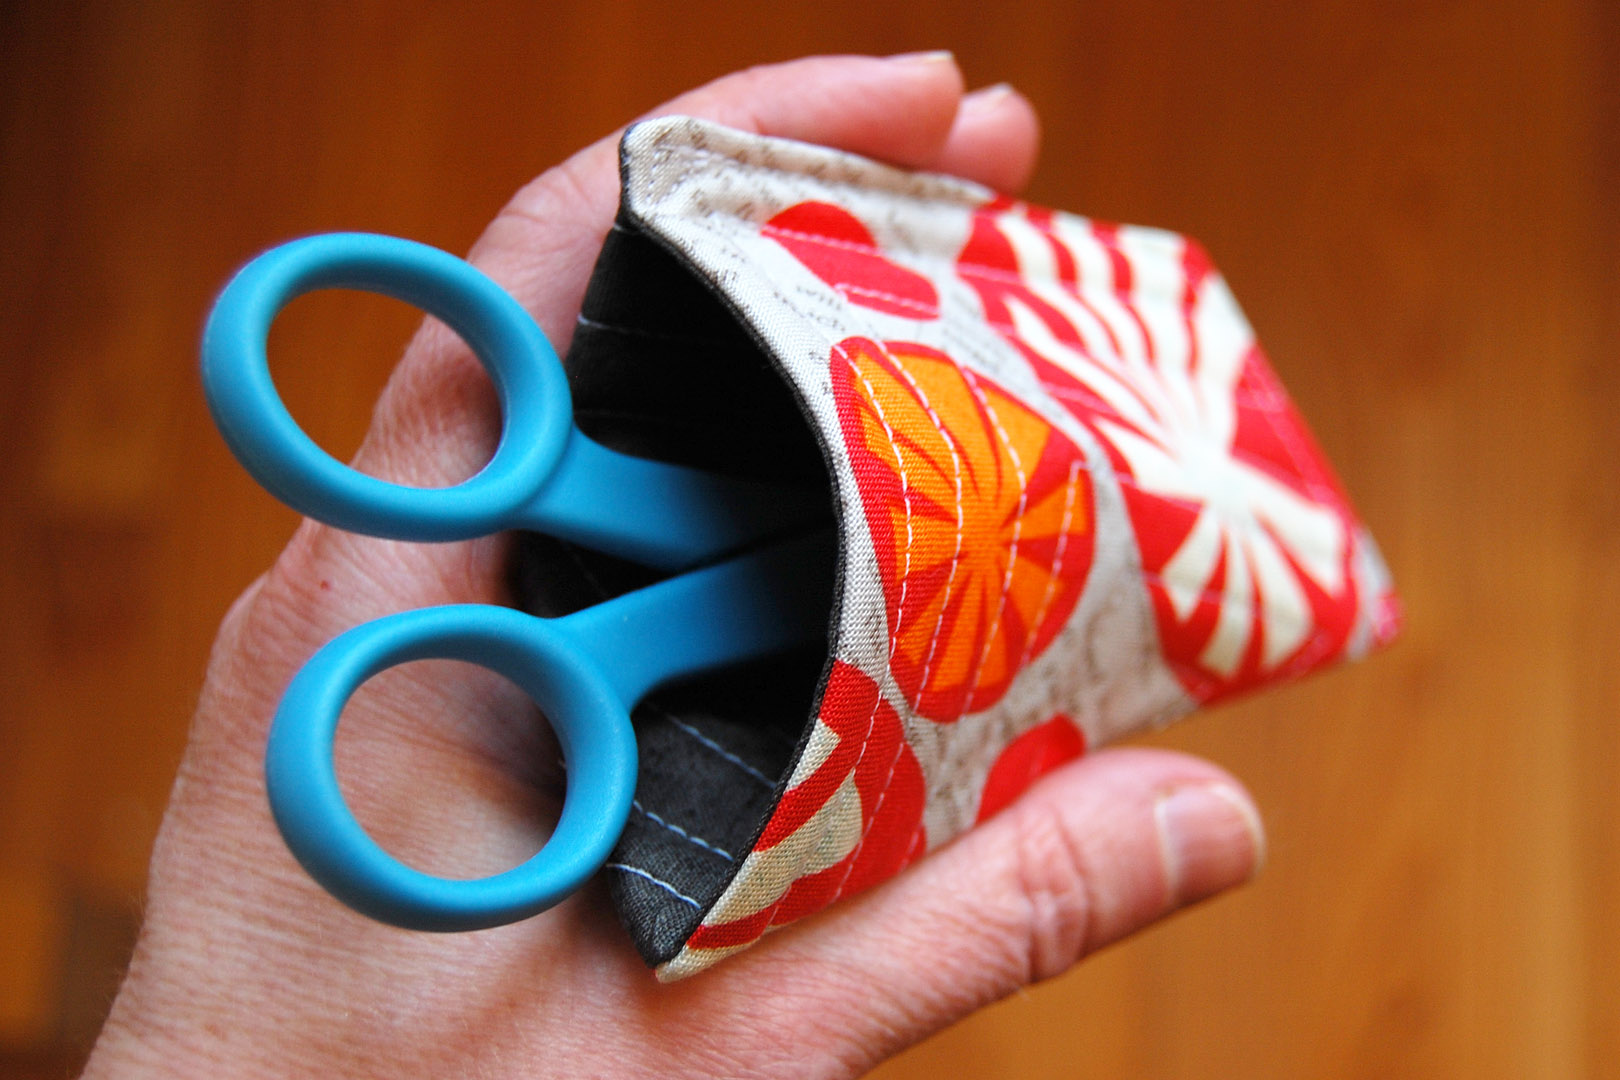
and you can fill the side pocket with little needle packets and needle threader.
The needle minder will securely hold your pins and needles, and there you have it!