Skip to content
For the better part of 2023, my husband and I have been living in an RV while we work on building our home. While we are fortunate to have this space (and even more fortunate to be building a home), going from a whole room for sewing to trying to sew in an RV was an adjustment for me. I wanted to share my 5 top tips for making the most out of sewing from a small space, whether it’s an RV, a tiny home, or a city apartment.
Tip 1: Prioritize Your Supplies
There are so many useful tools when it comes to sewing and, trust me, I love to try them all. However, when it came time to move my sewing supplies into an RV, I had to really think about what supplies would be most useful for me. Did I think I was going to be doing a ton of machine embroidery? Unfortunately, no, so my embroidery thread, hoops, and stabilizers went into storage. These are the supplies that I prioritized space for and have been using again and again while sewing in the RV:
- My favorite fabric shears
- A rotary cutter
- A medium rotary cutting mat
- A quilting ruler
- Pins and a magnetic pin cushion
- A bin of various thread
- Thread snips
- Iron and wool pressing mat
Tip 2: It Might Be Easier to Store a Smaller Machine
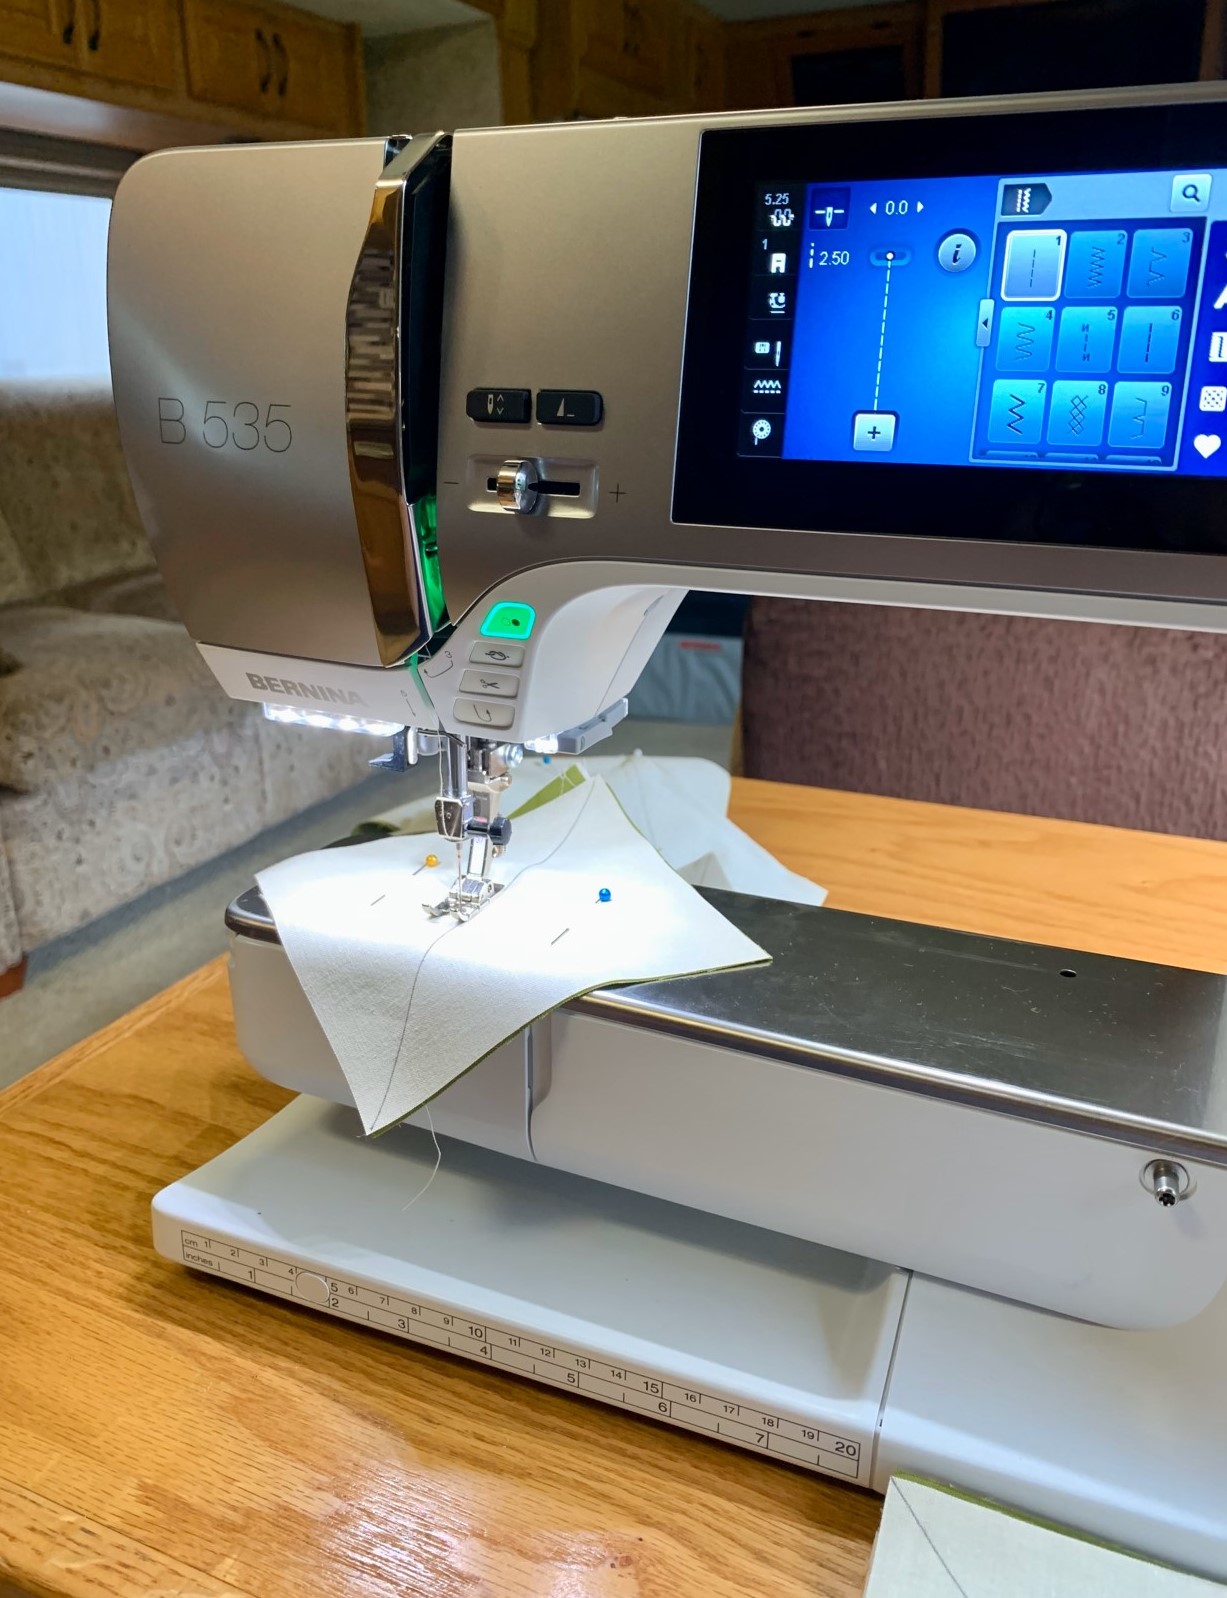
In my sewing room, I routinely sew on a B 790 Plus. I love everything about this machine and planned to bring it into the RV with me, but the place I envisioned storing it didn’t quite work out as the machine was a little too tall. I also quickly realized that moving a machine in and out of a tight storage space would be better if the machine was a little lighter. Because of this, I reluctantly decided to store my B 790 Plus at my mom’s house (so that I could easily go there to work on bigger projects if I needed to) and bring my B 535 into the RV. Now, I am in no way saying that you should buy a new, smaller machine just for RV life. (Unless you want to!) However, if you have the option, a smaller machine might be a little easier to store.
Tip 3: Organize Your Machine Accessories
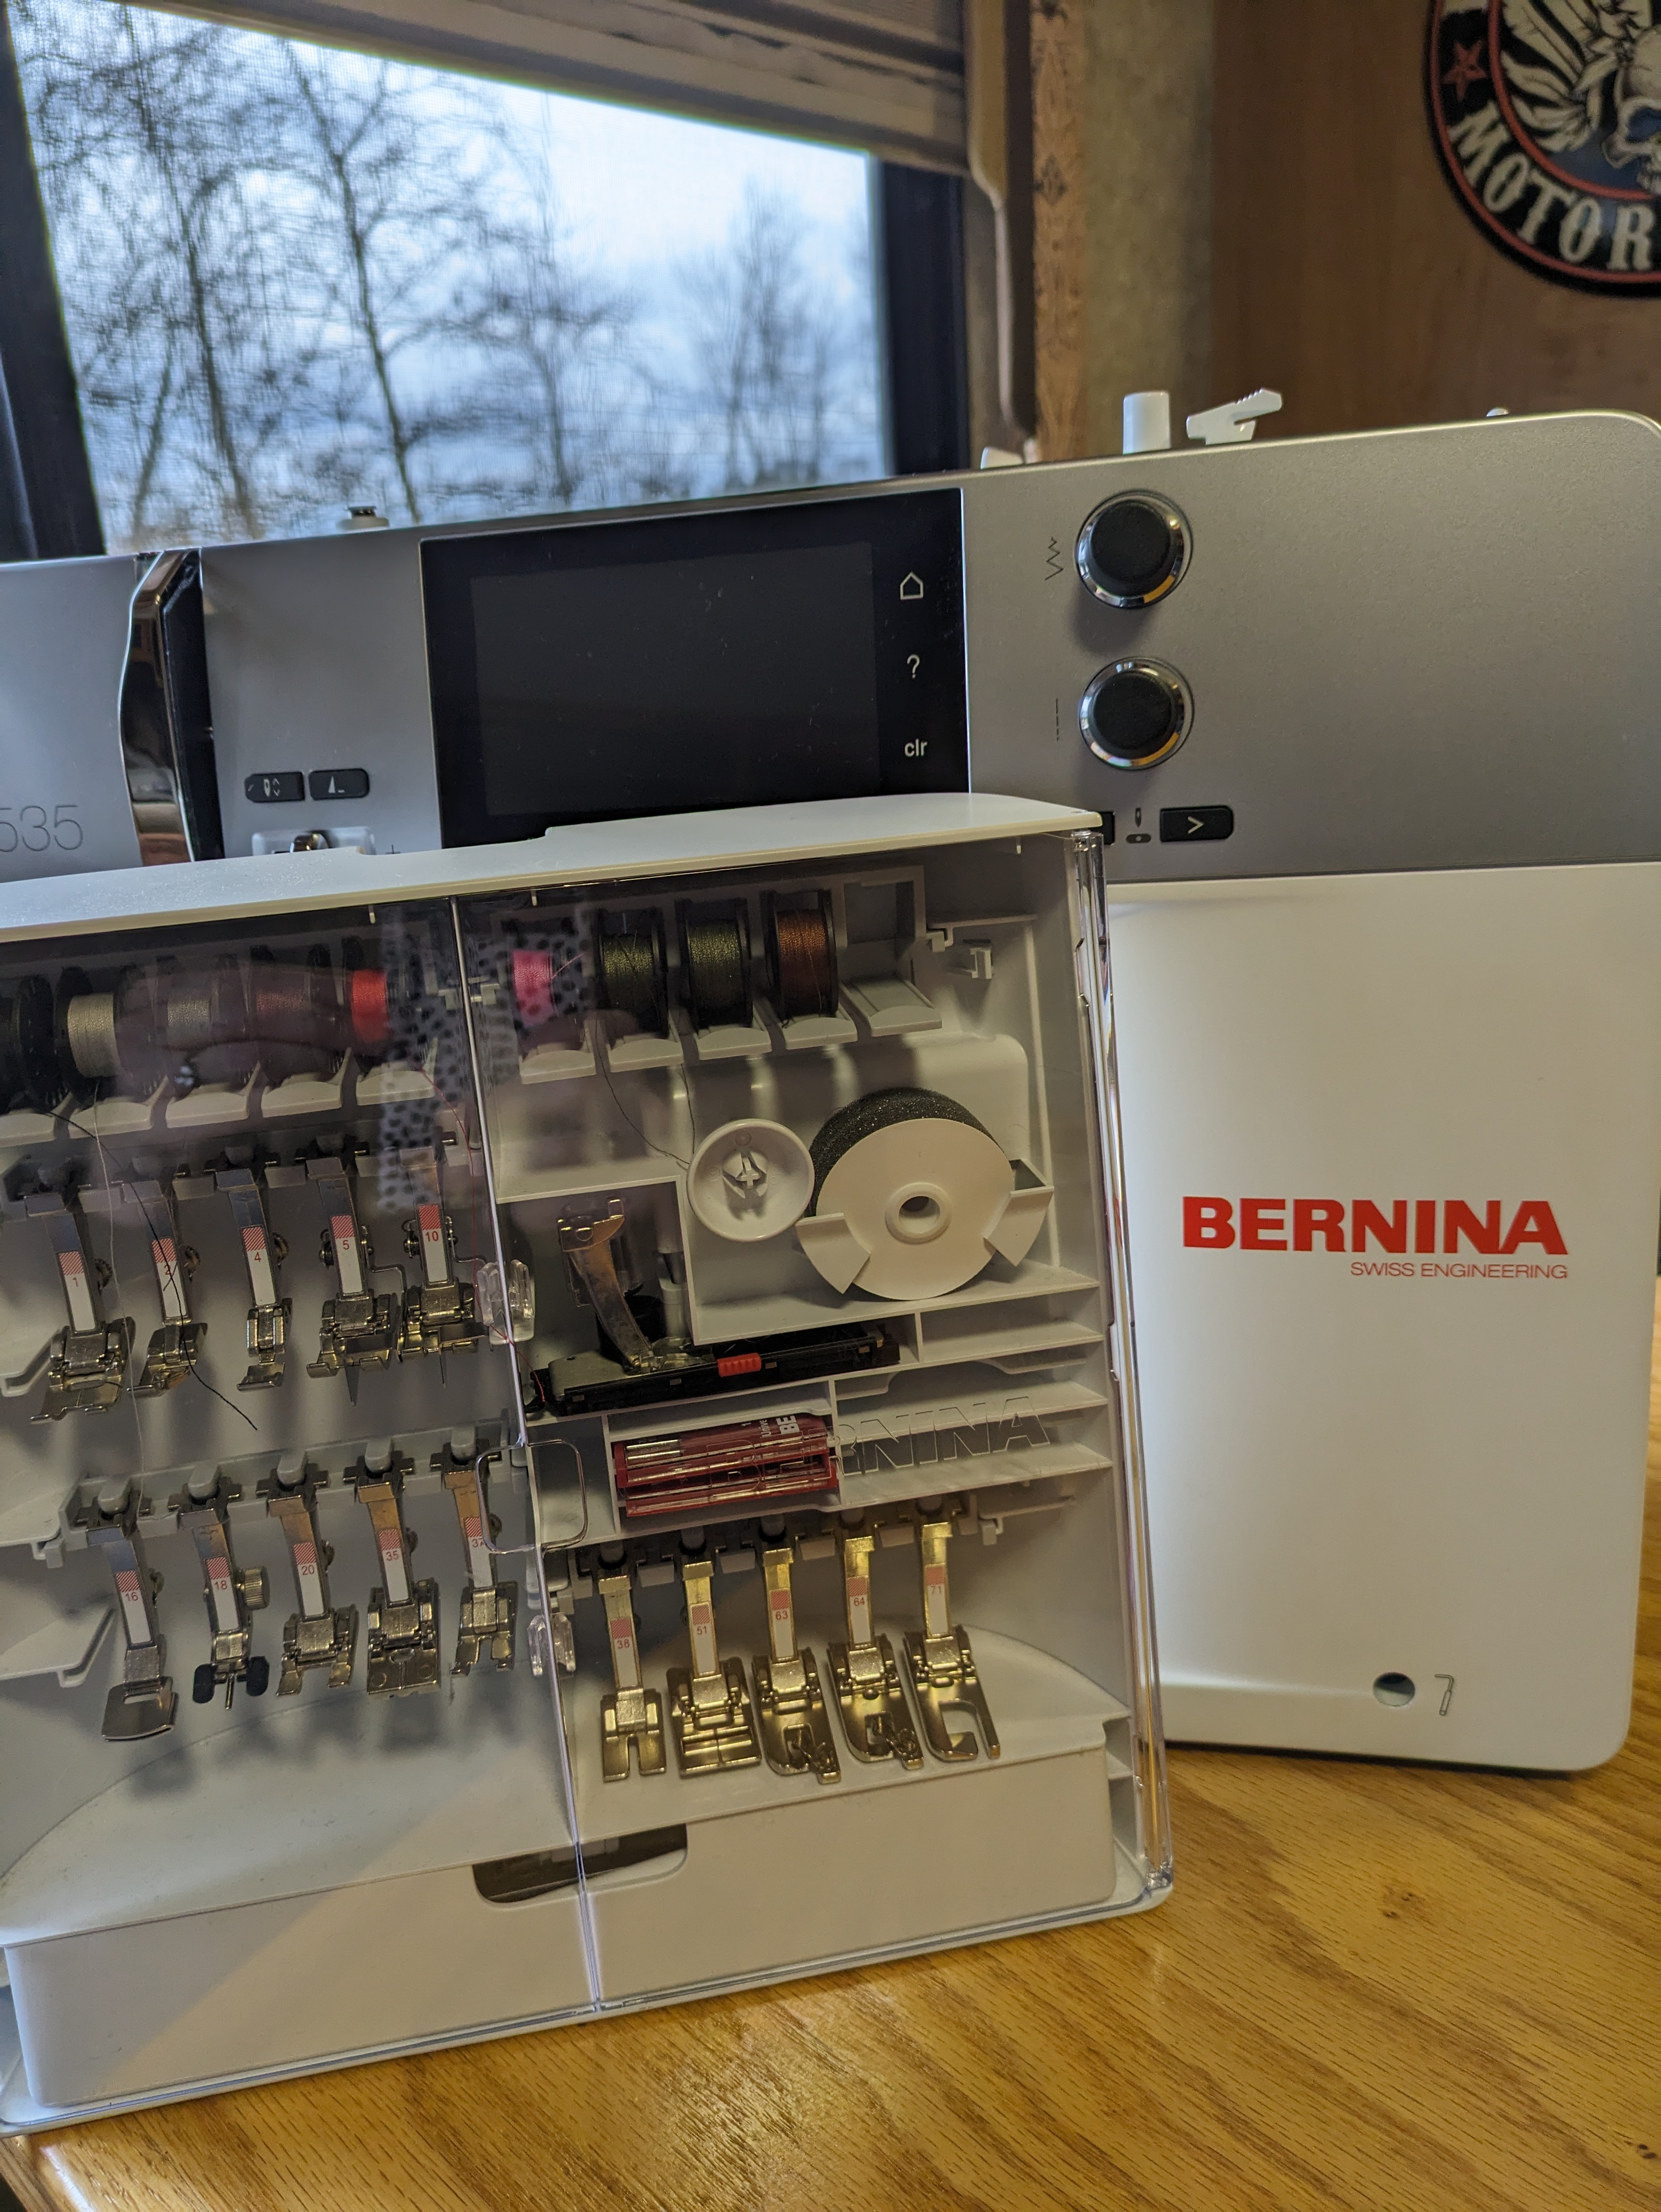
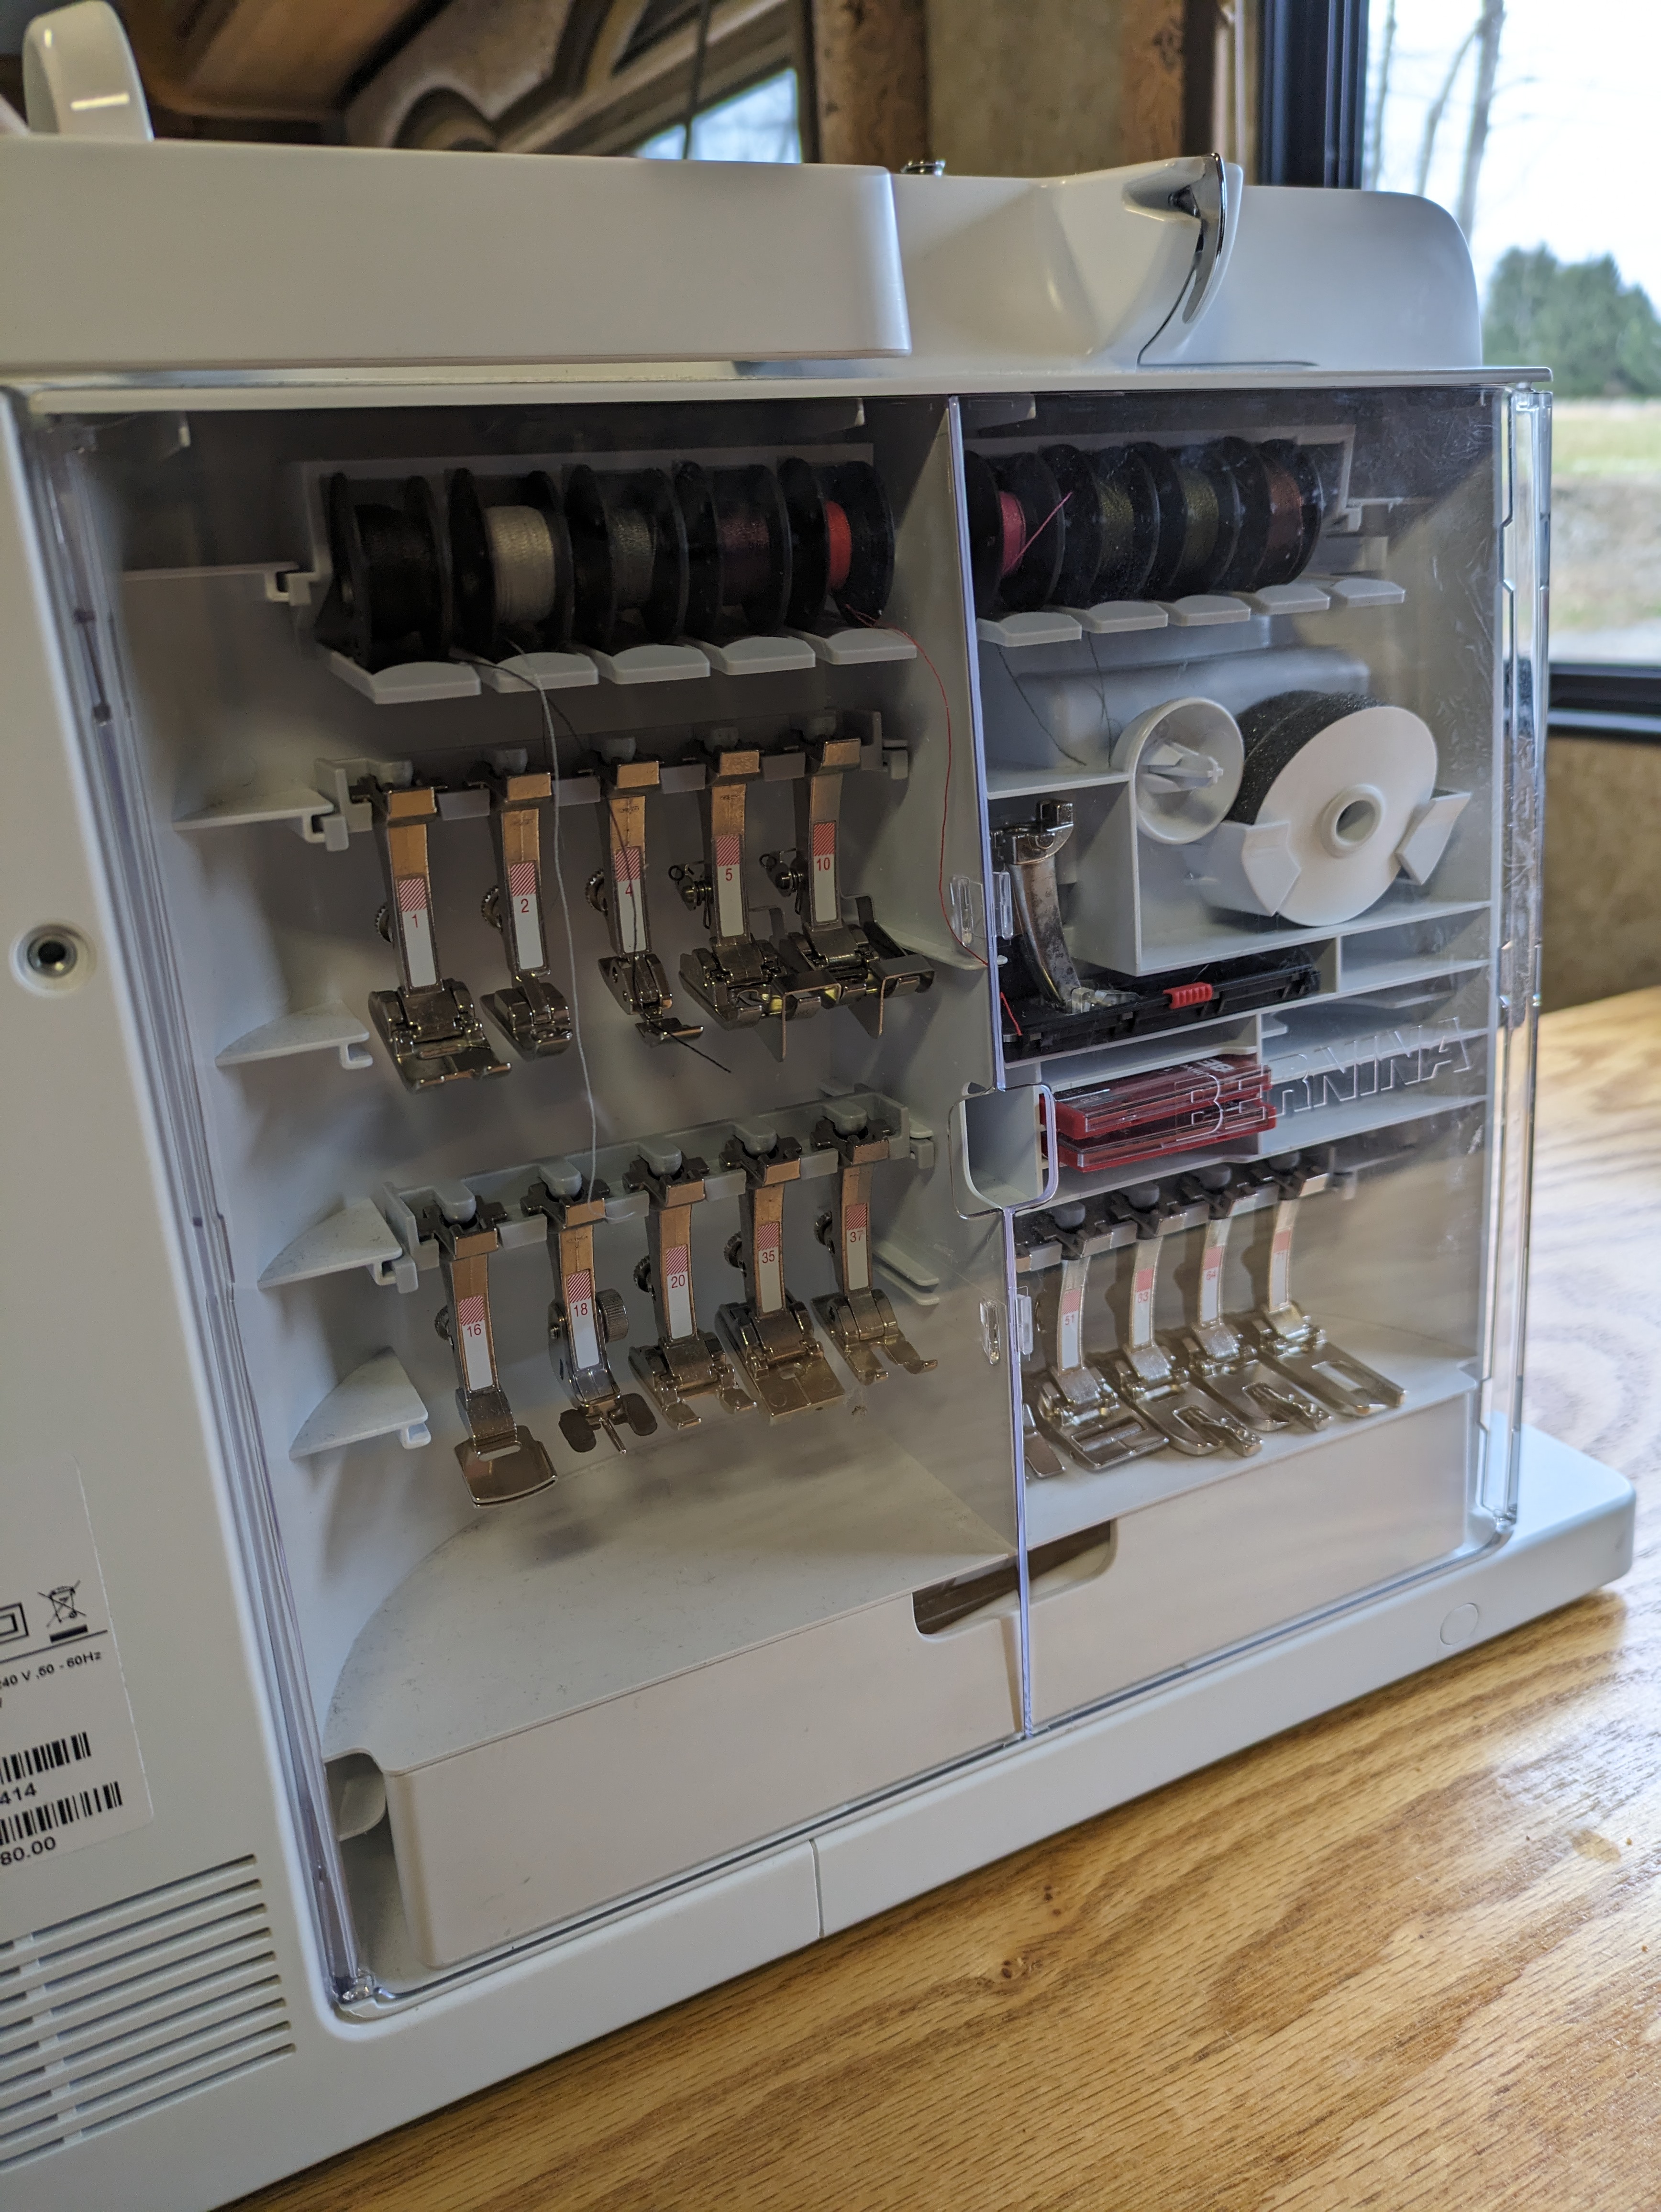
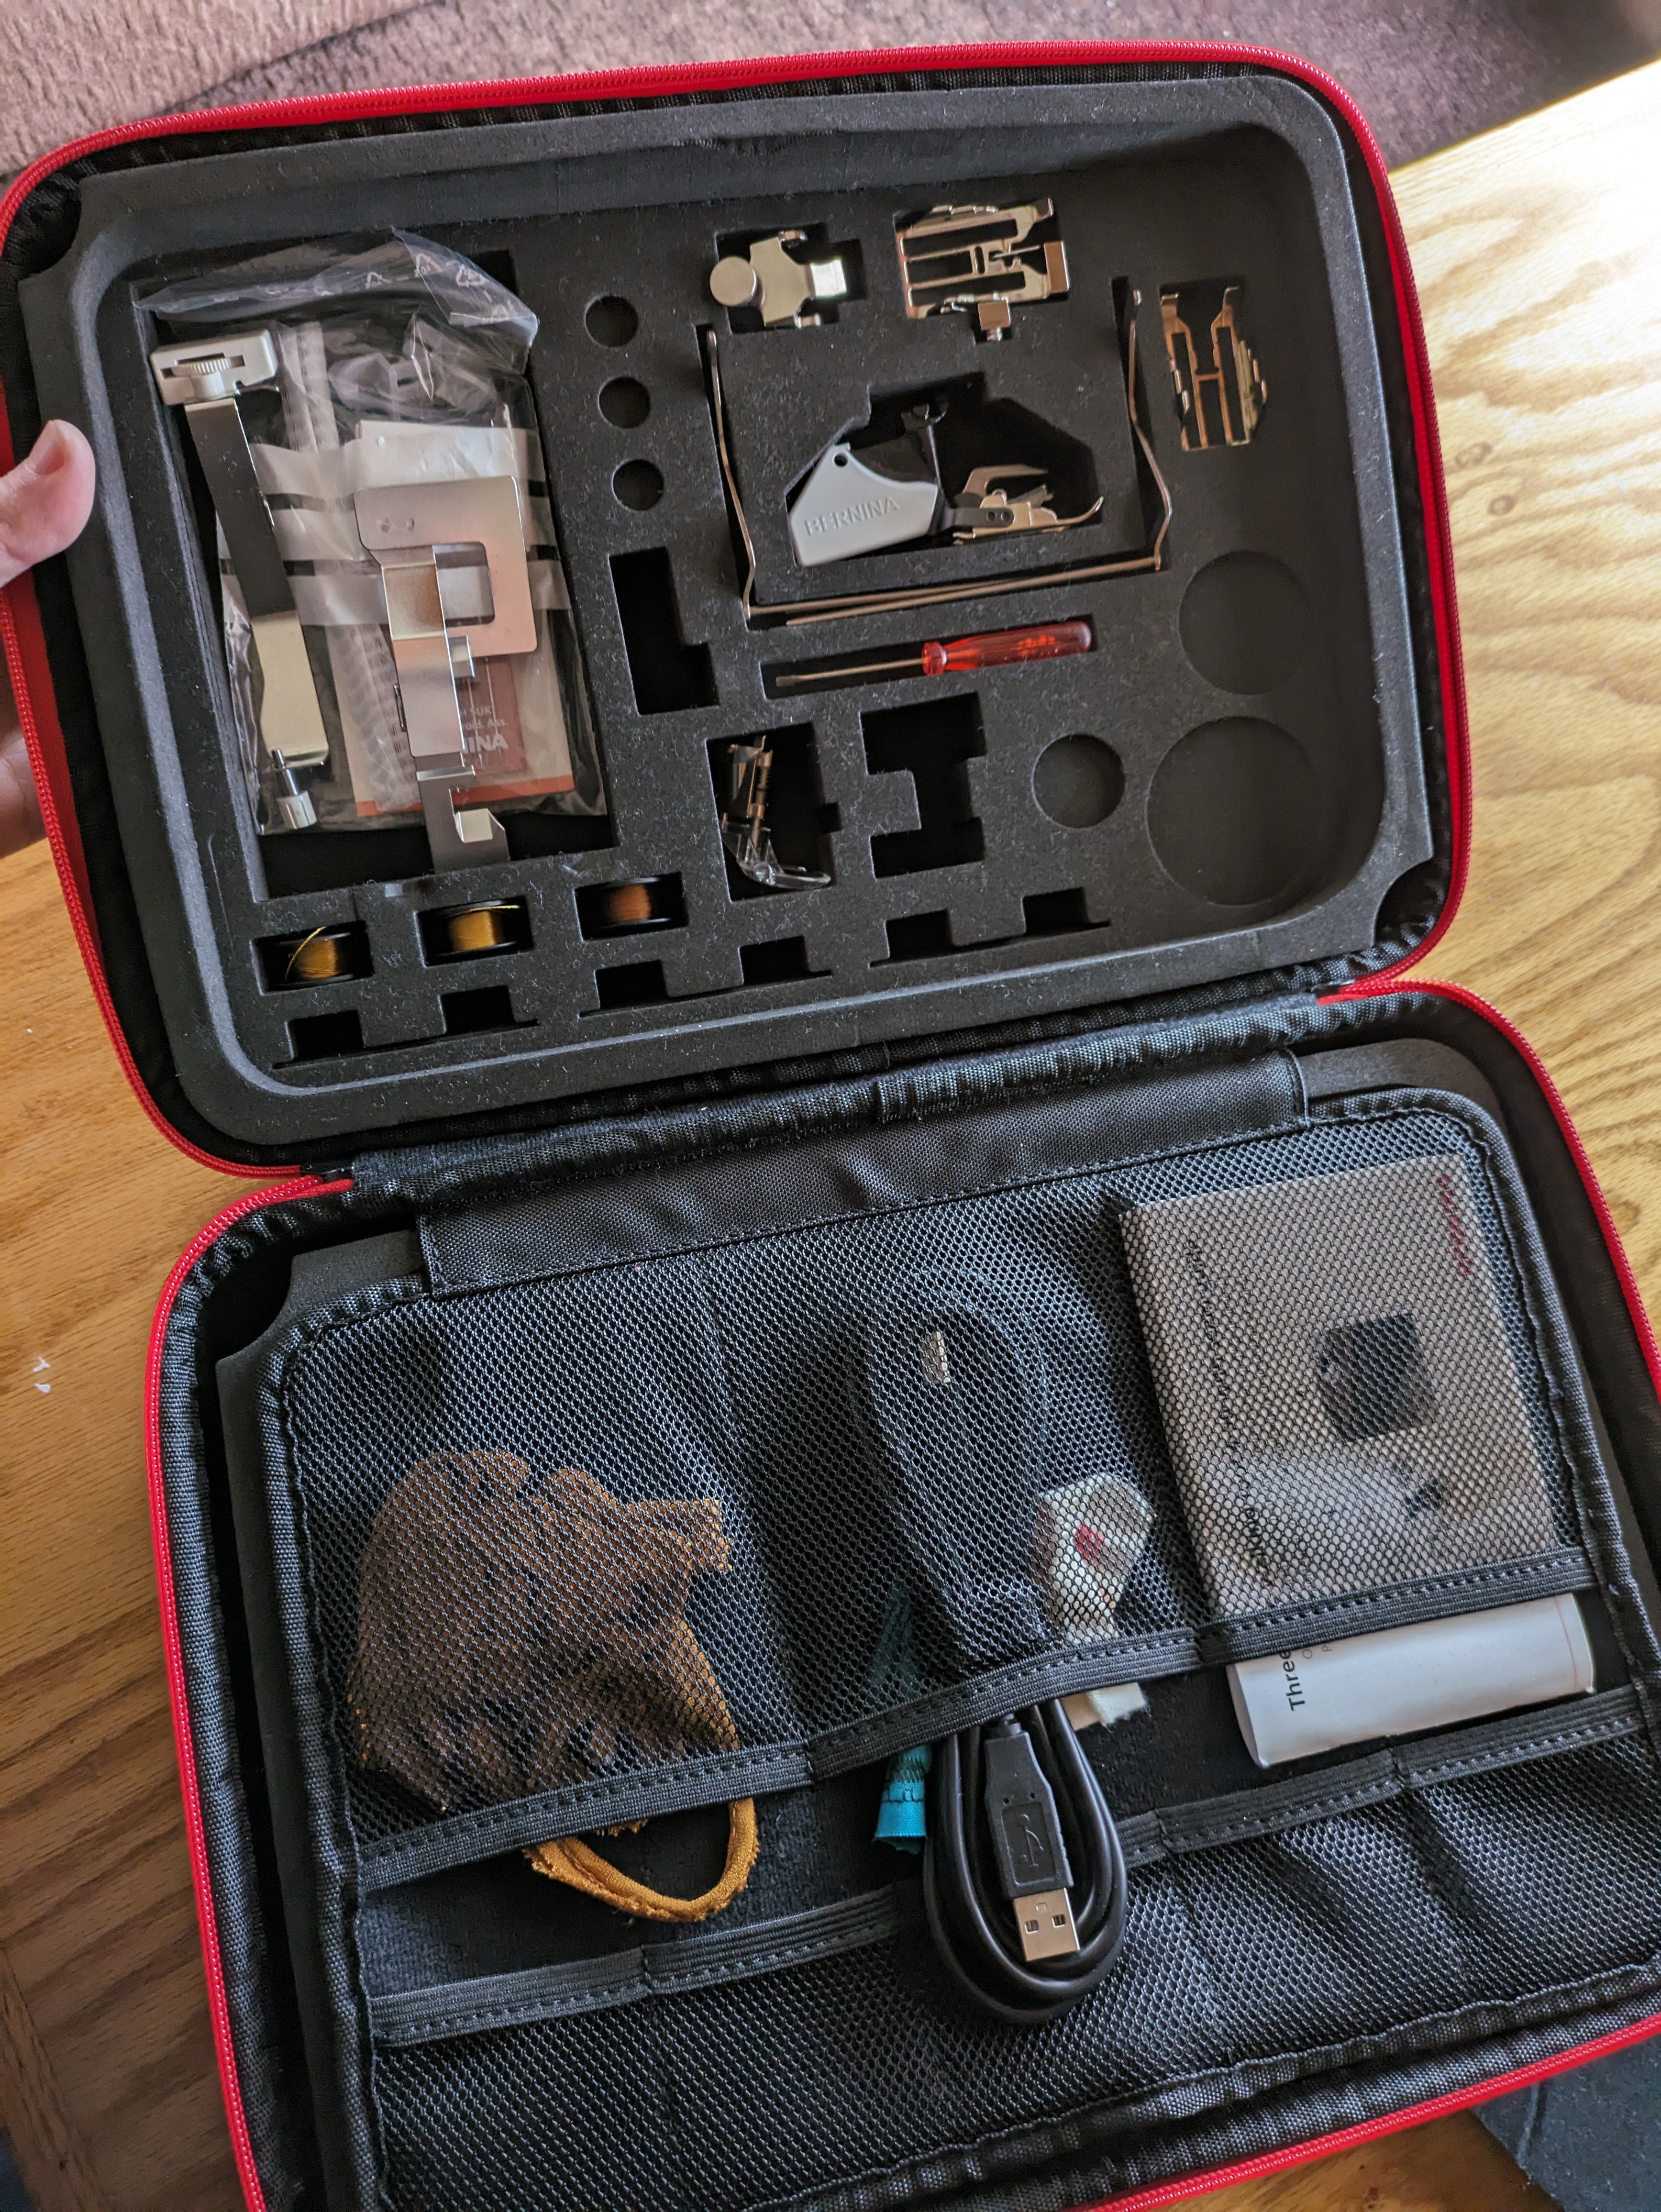
I didn’t know what presser feet and machine accessories I might need while RV living, so I wanted to bring as many as possible. Luckily, BERNINA has multiple options for organizing and storing these accessories. The accessory box that came with the B 535 is a game changer when it comes to storing your presser feet, bobbins, and other accessories in a small space. This box attaches to the back of the machine with a magnet, so it doesn’t take up any extra space than the machine itself does.
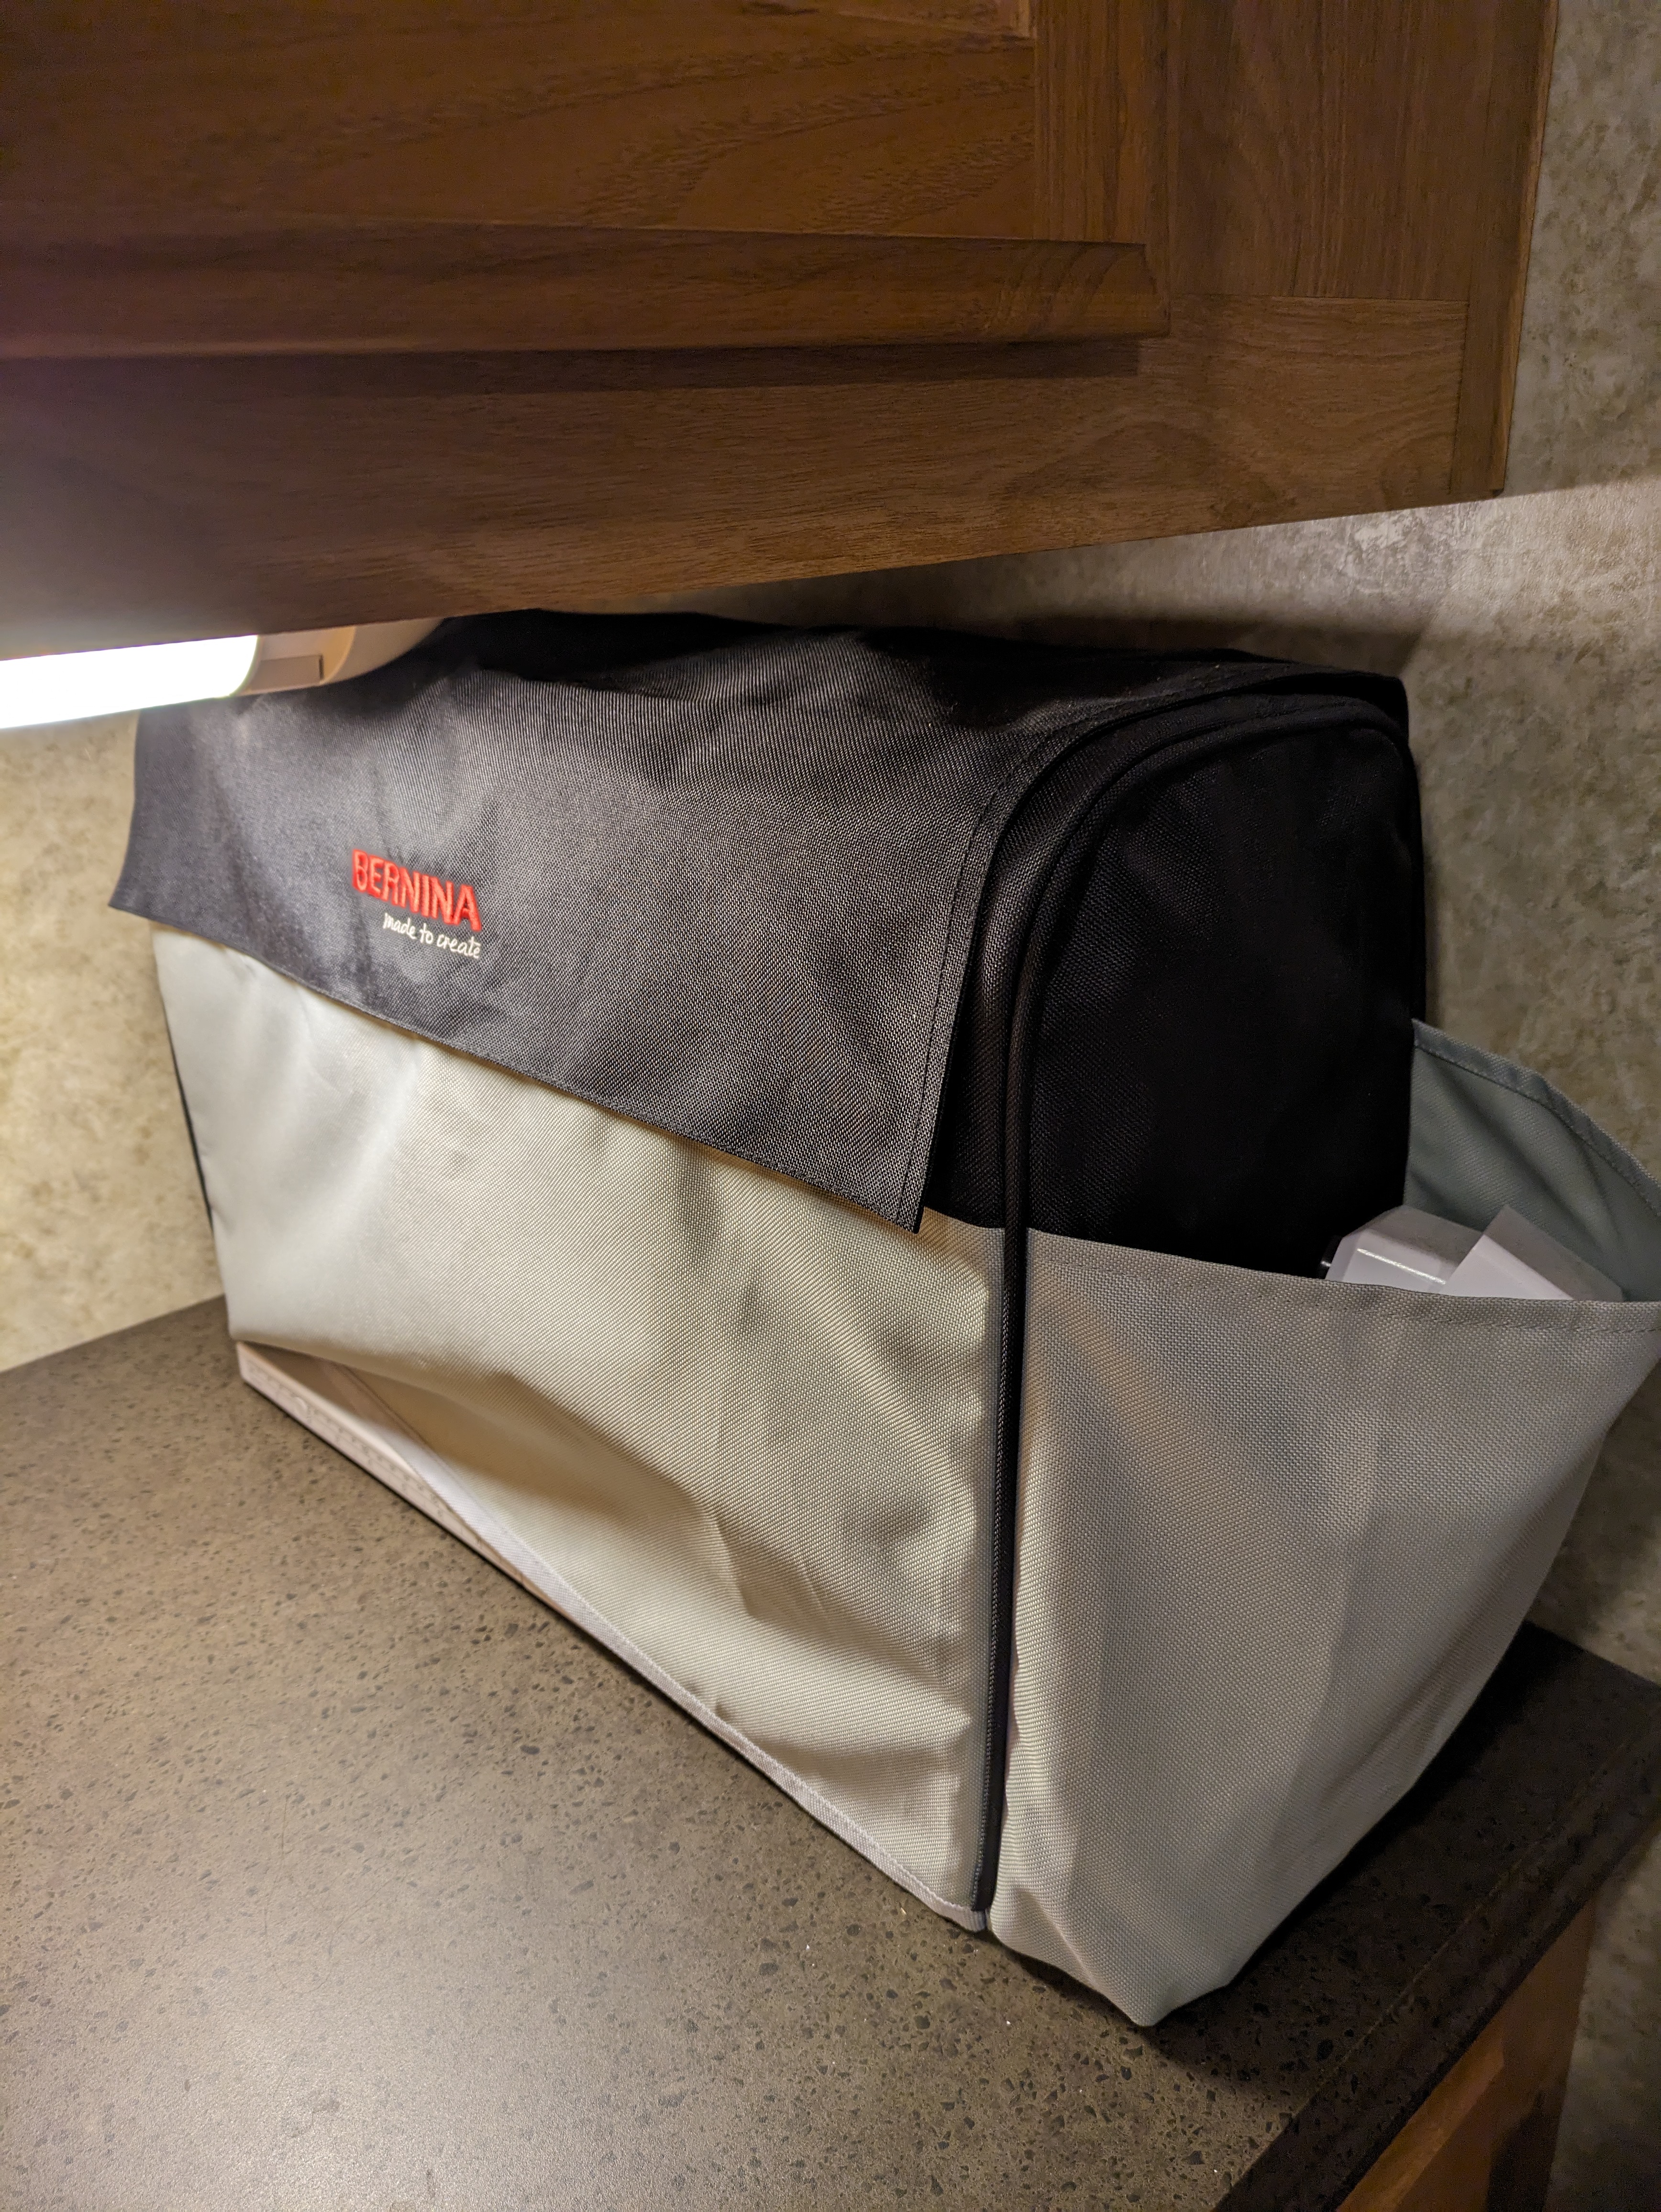
The Slide-on Table, Free-Hand System, power cord, and foot pedal, could be easily stored in the pockets of the dust cover of my machine. This allowed everything to be stored away at once and I could also get everything back out at once.

I also cannot recommend the BERNINA Accessory Case enough for storing all those extra presser feet and accessories. This left me room for anything that didn’t fit in the accessory box that attaches to the machine with plenty of space to spare. I love that it has a dedicated space for the Three-Sole Walking Foot with Seam Guide #50, which I’ve been using a TON while sewing in the RV.
Tip 4: Storage and Organization Is Key
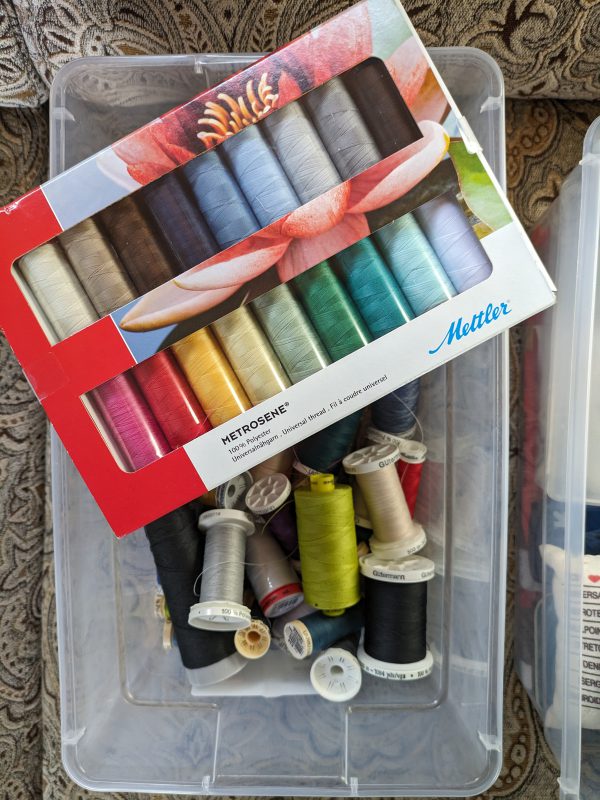
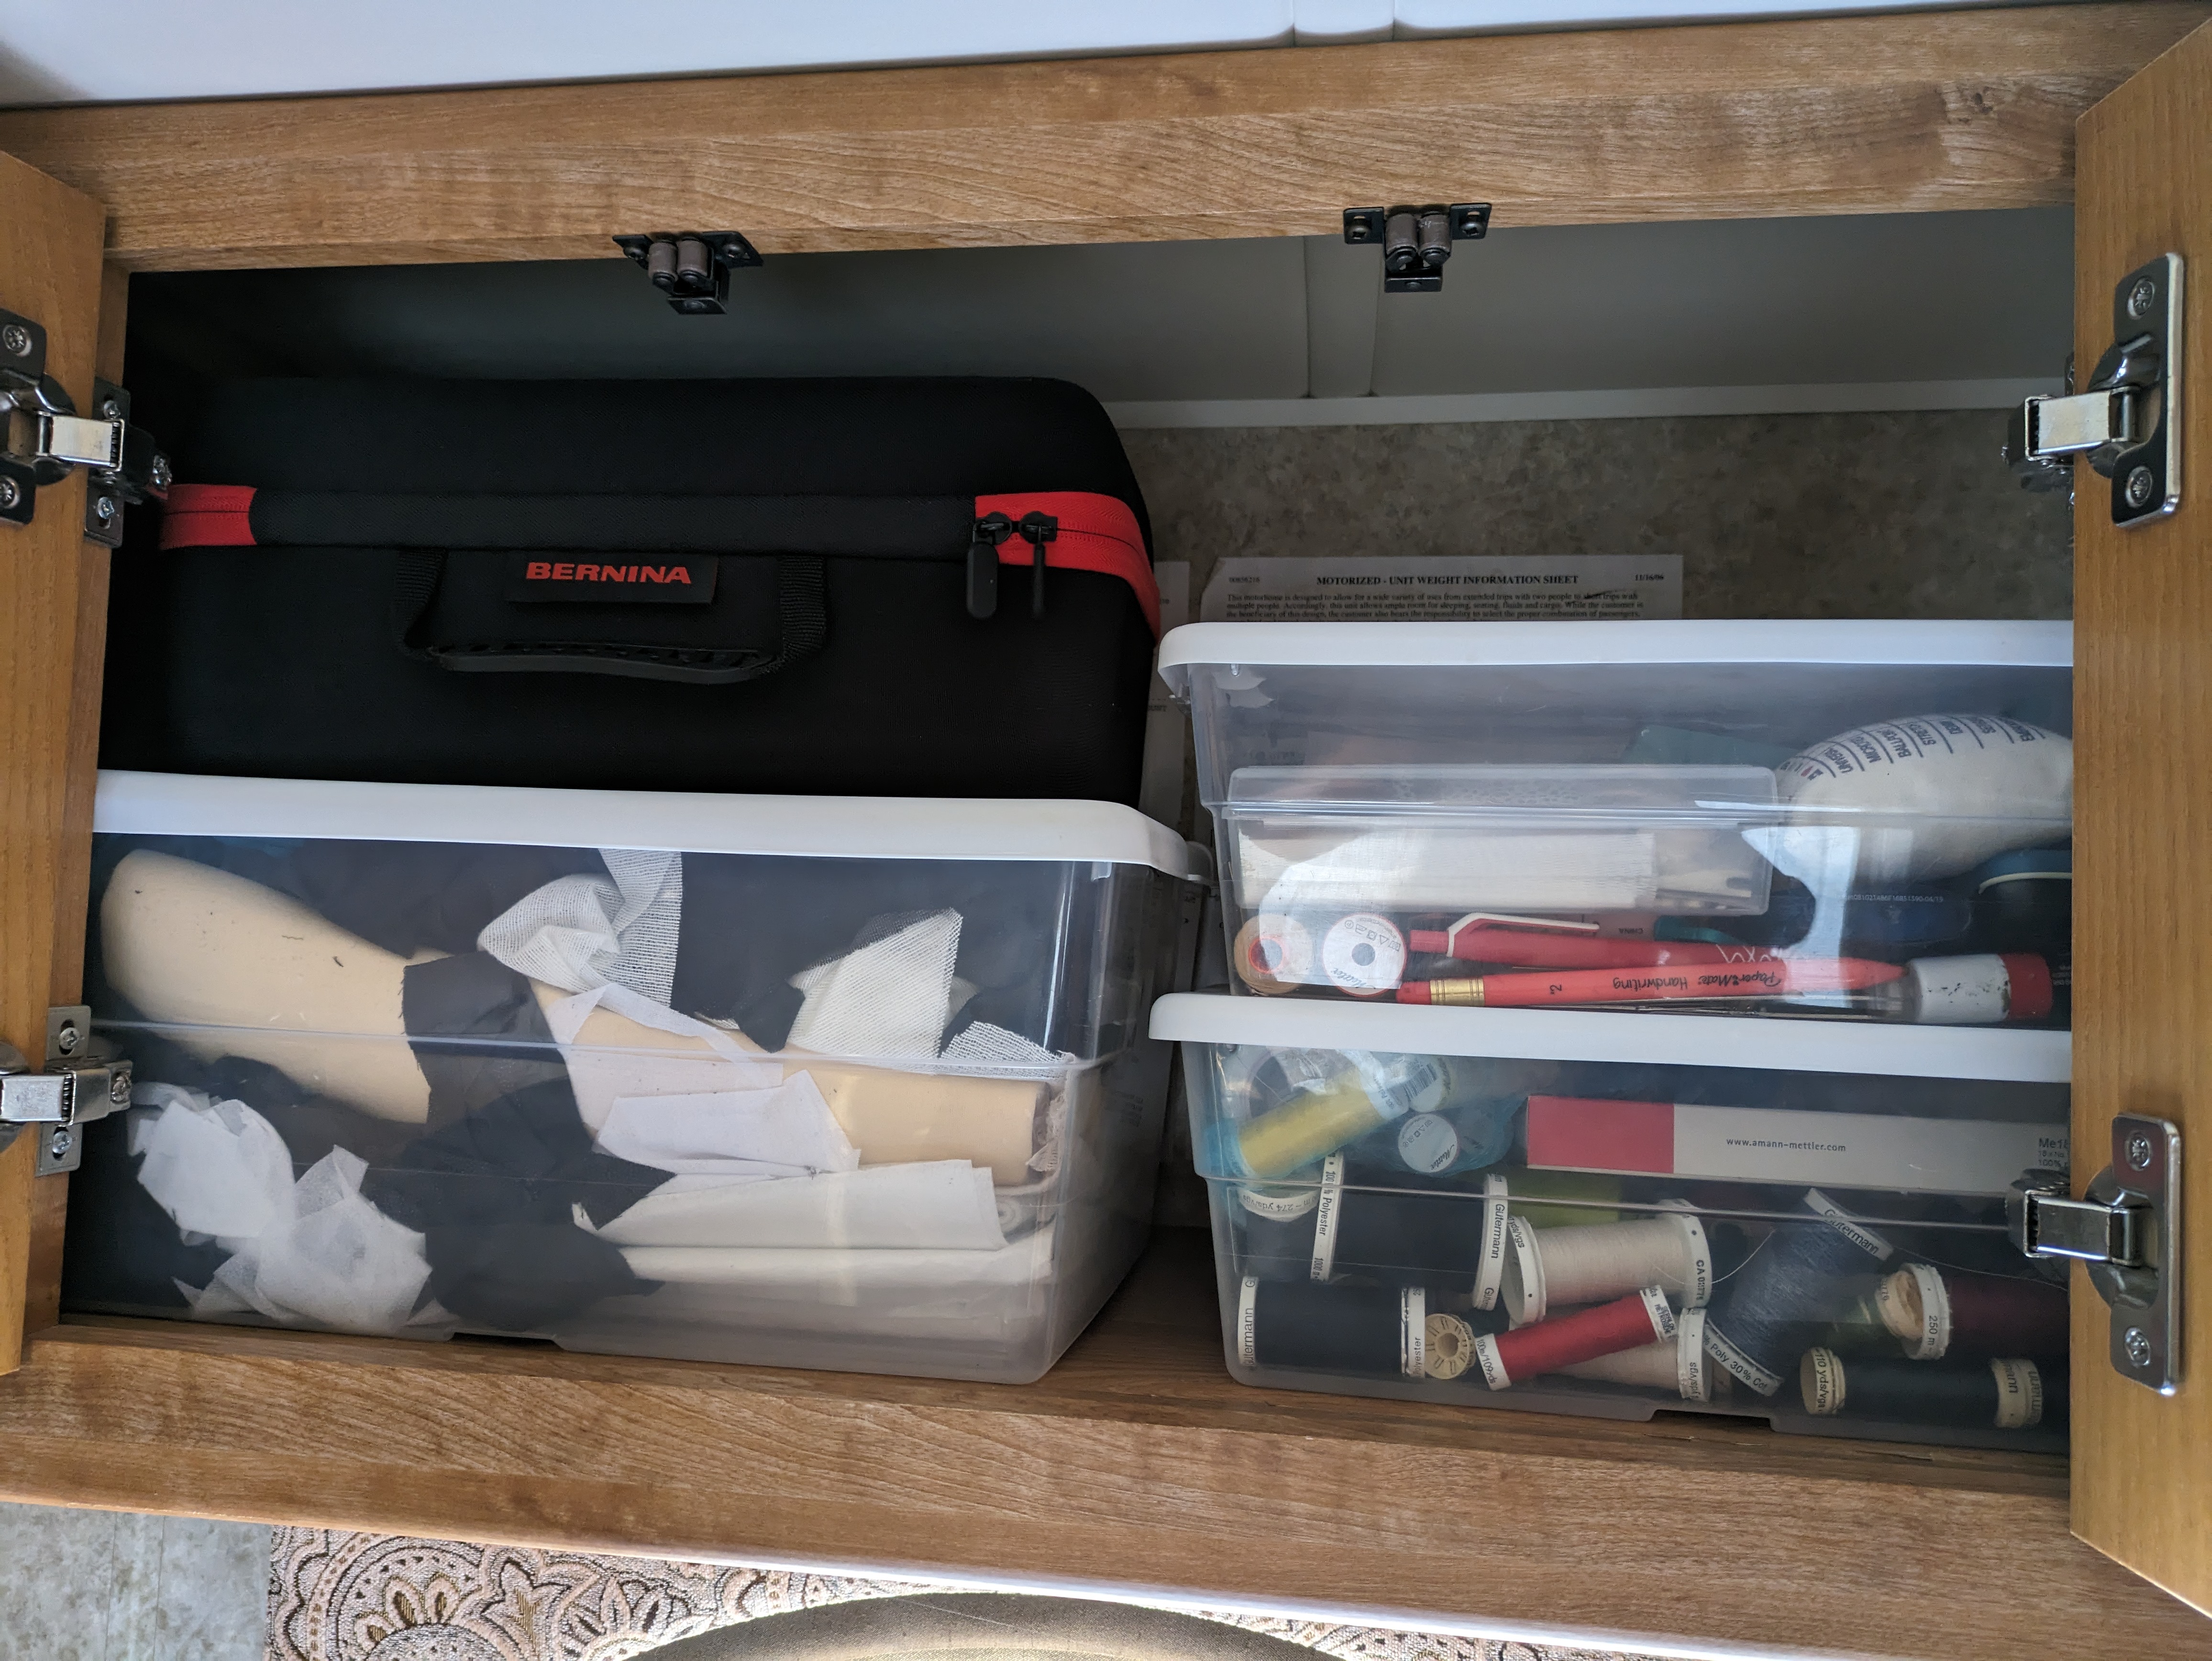
After you’ve decided what to bring with you, it can be pretty daunting to decide how to store it all. In our RV, there is a cabinet above the couch that fits the shoe-sized plastic storage containers pretty perfectly. I used one of these for all my thread and one for all my other supplies, like scissors, a rotary cutter, and pins.

I also could fit a slightly larger plastic bin in this cabinet: one is used to store interfacing and some quilting fabrics and one is used for bra-making supplies. (These are the projects I decided to focus on, see Tip 5!) I also have a small set of plastic drawers that I used to store things like buttons, safety pins, and elastics. This made these small notions easy to store and access. In this cabinet, I also store a box of Swiffer Dry Sweeping Cloths. These work so well for cleaning all the lint from your sewing machine!
When looking at what type of containers will work to store your supplies, keep in mind your space. Measure your cabinets before shopping for bins to make sure they fit in your desired storage cabinet or area. I also try to keep my fabric purchases to a minimum and only buy for one project at a time.
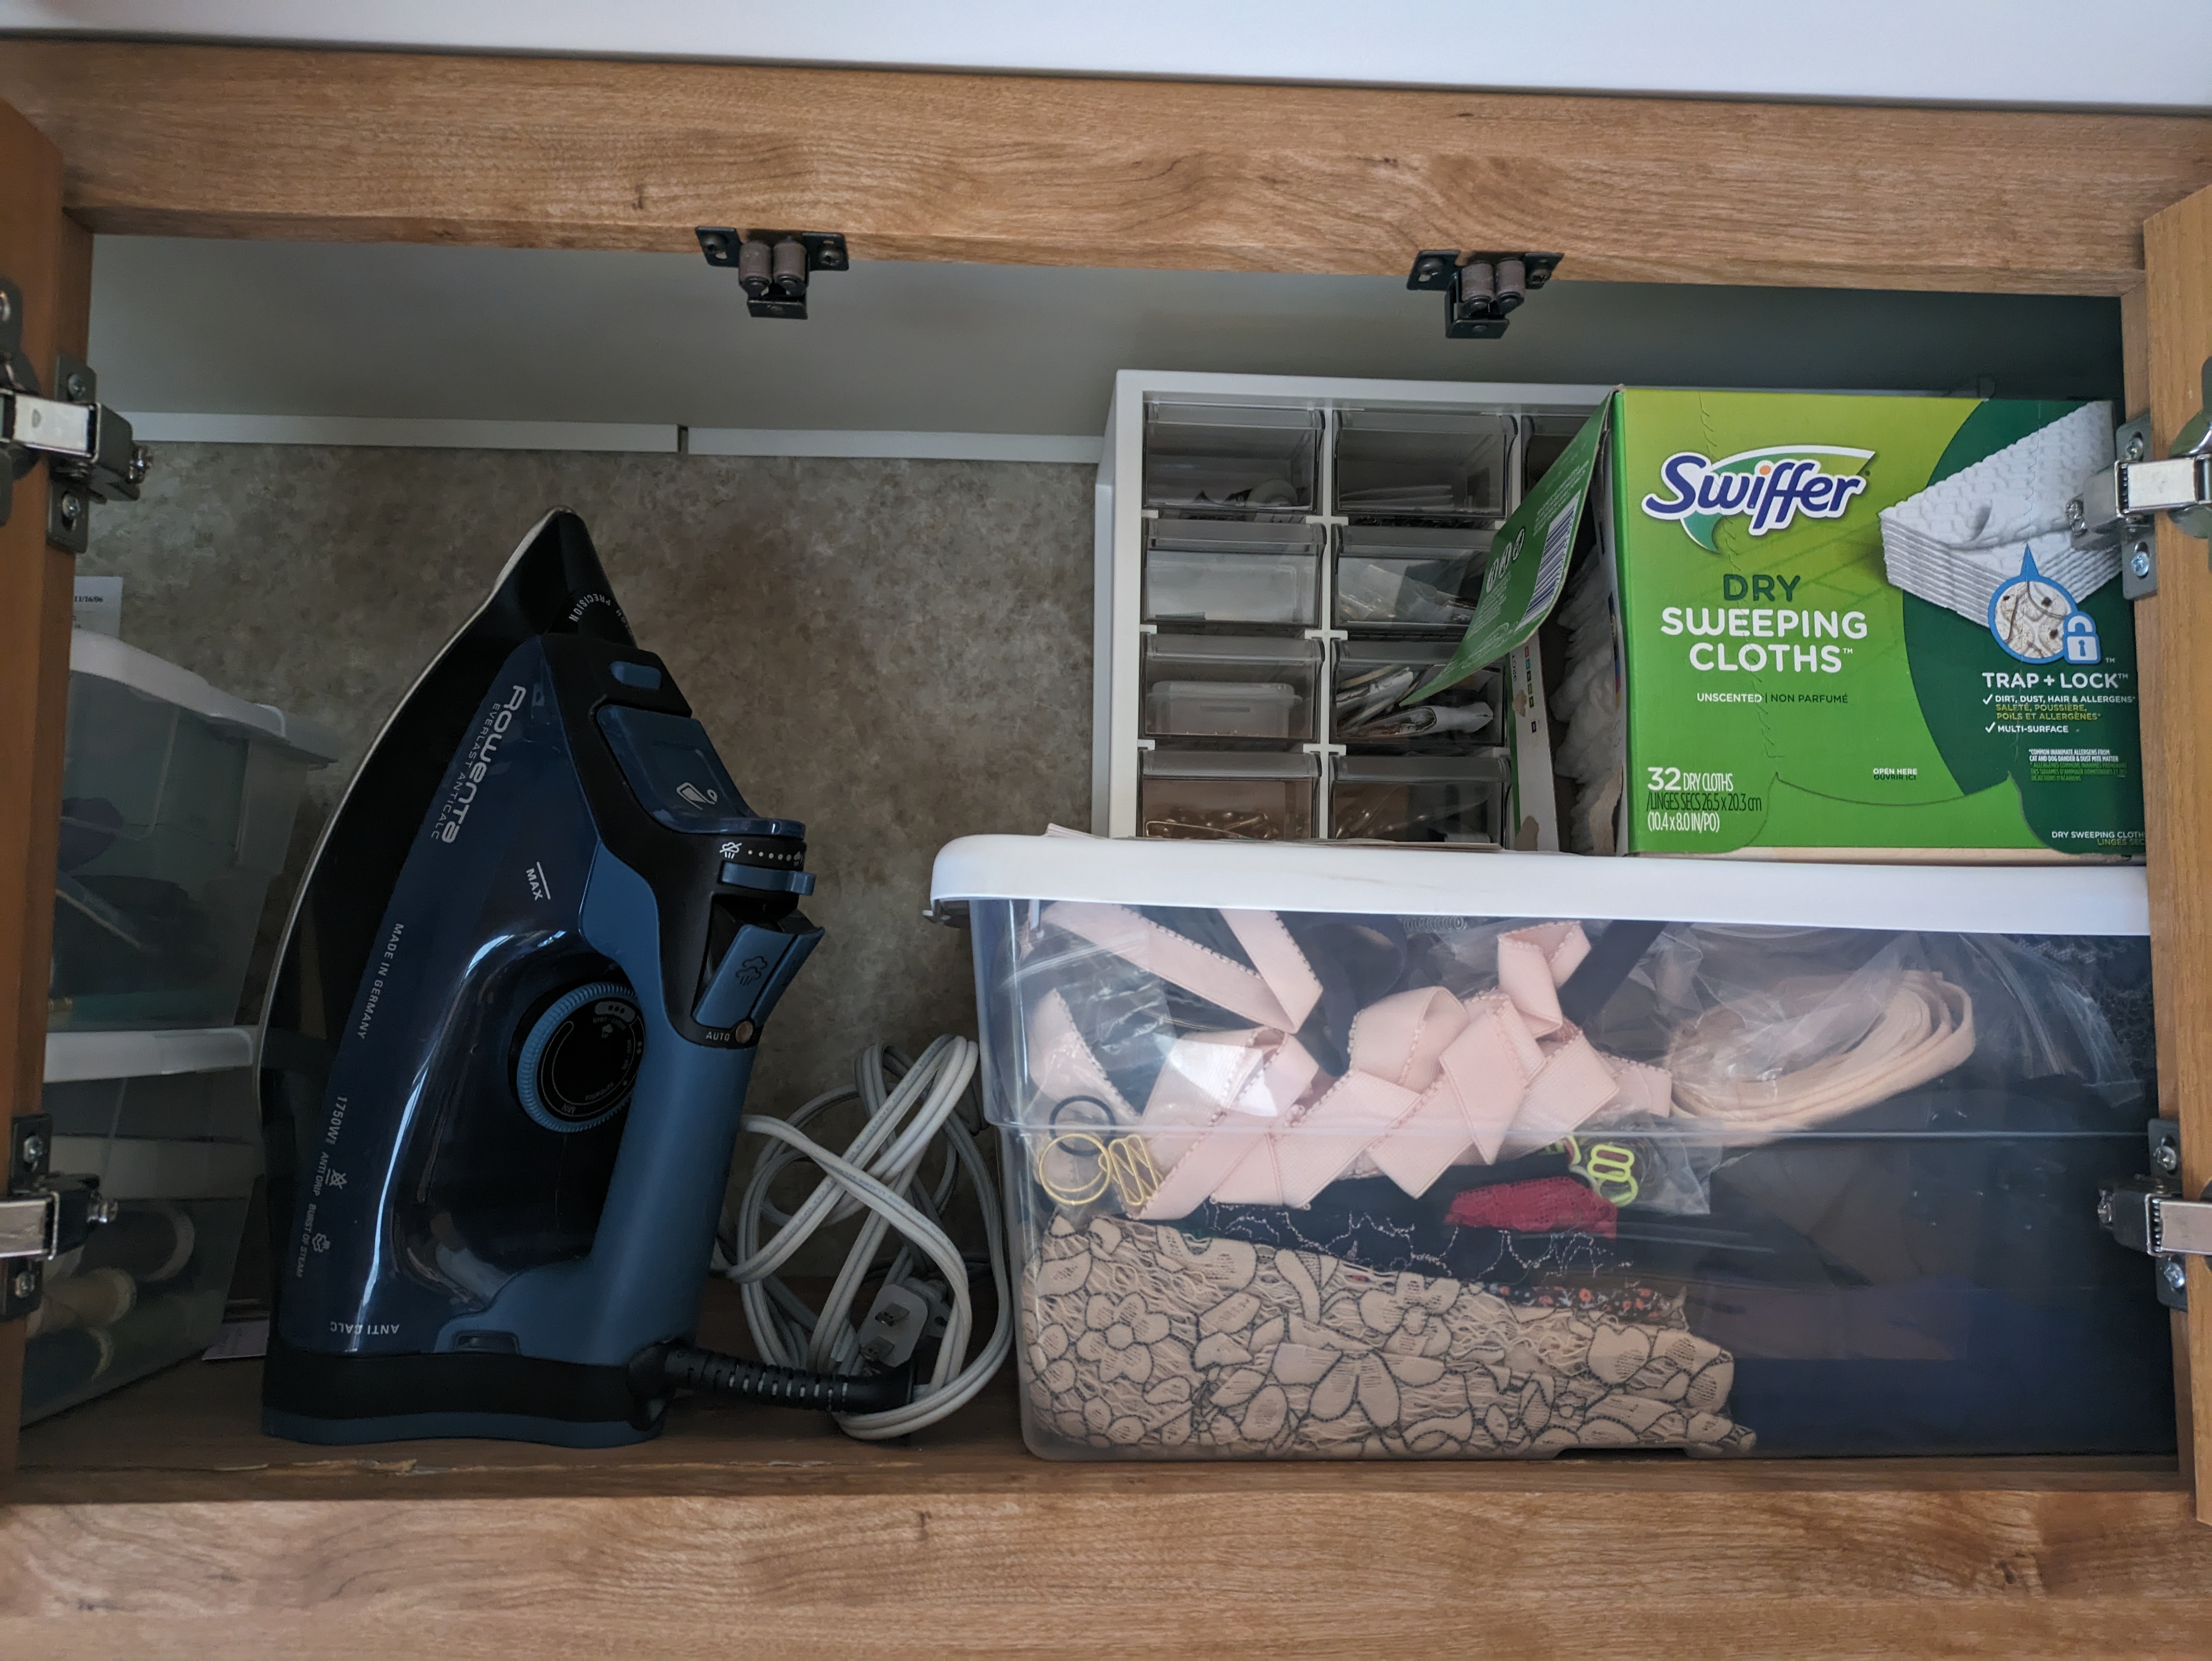
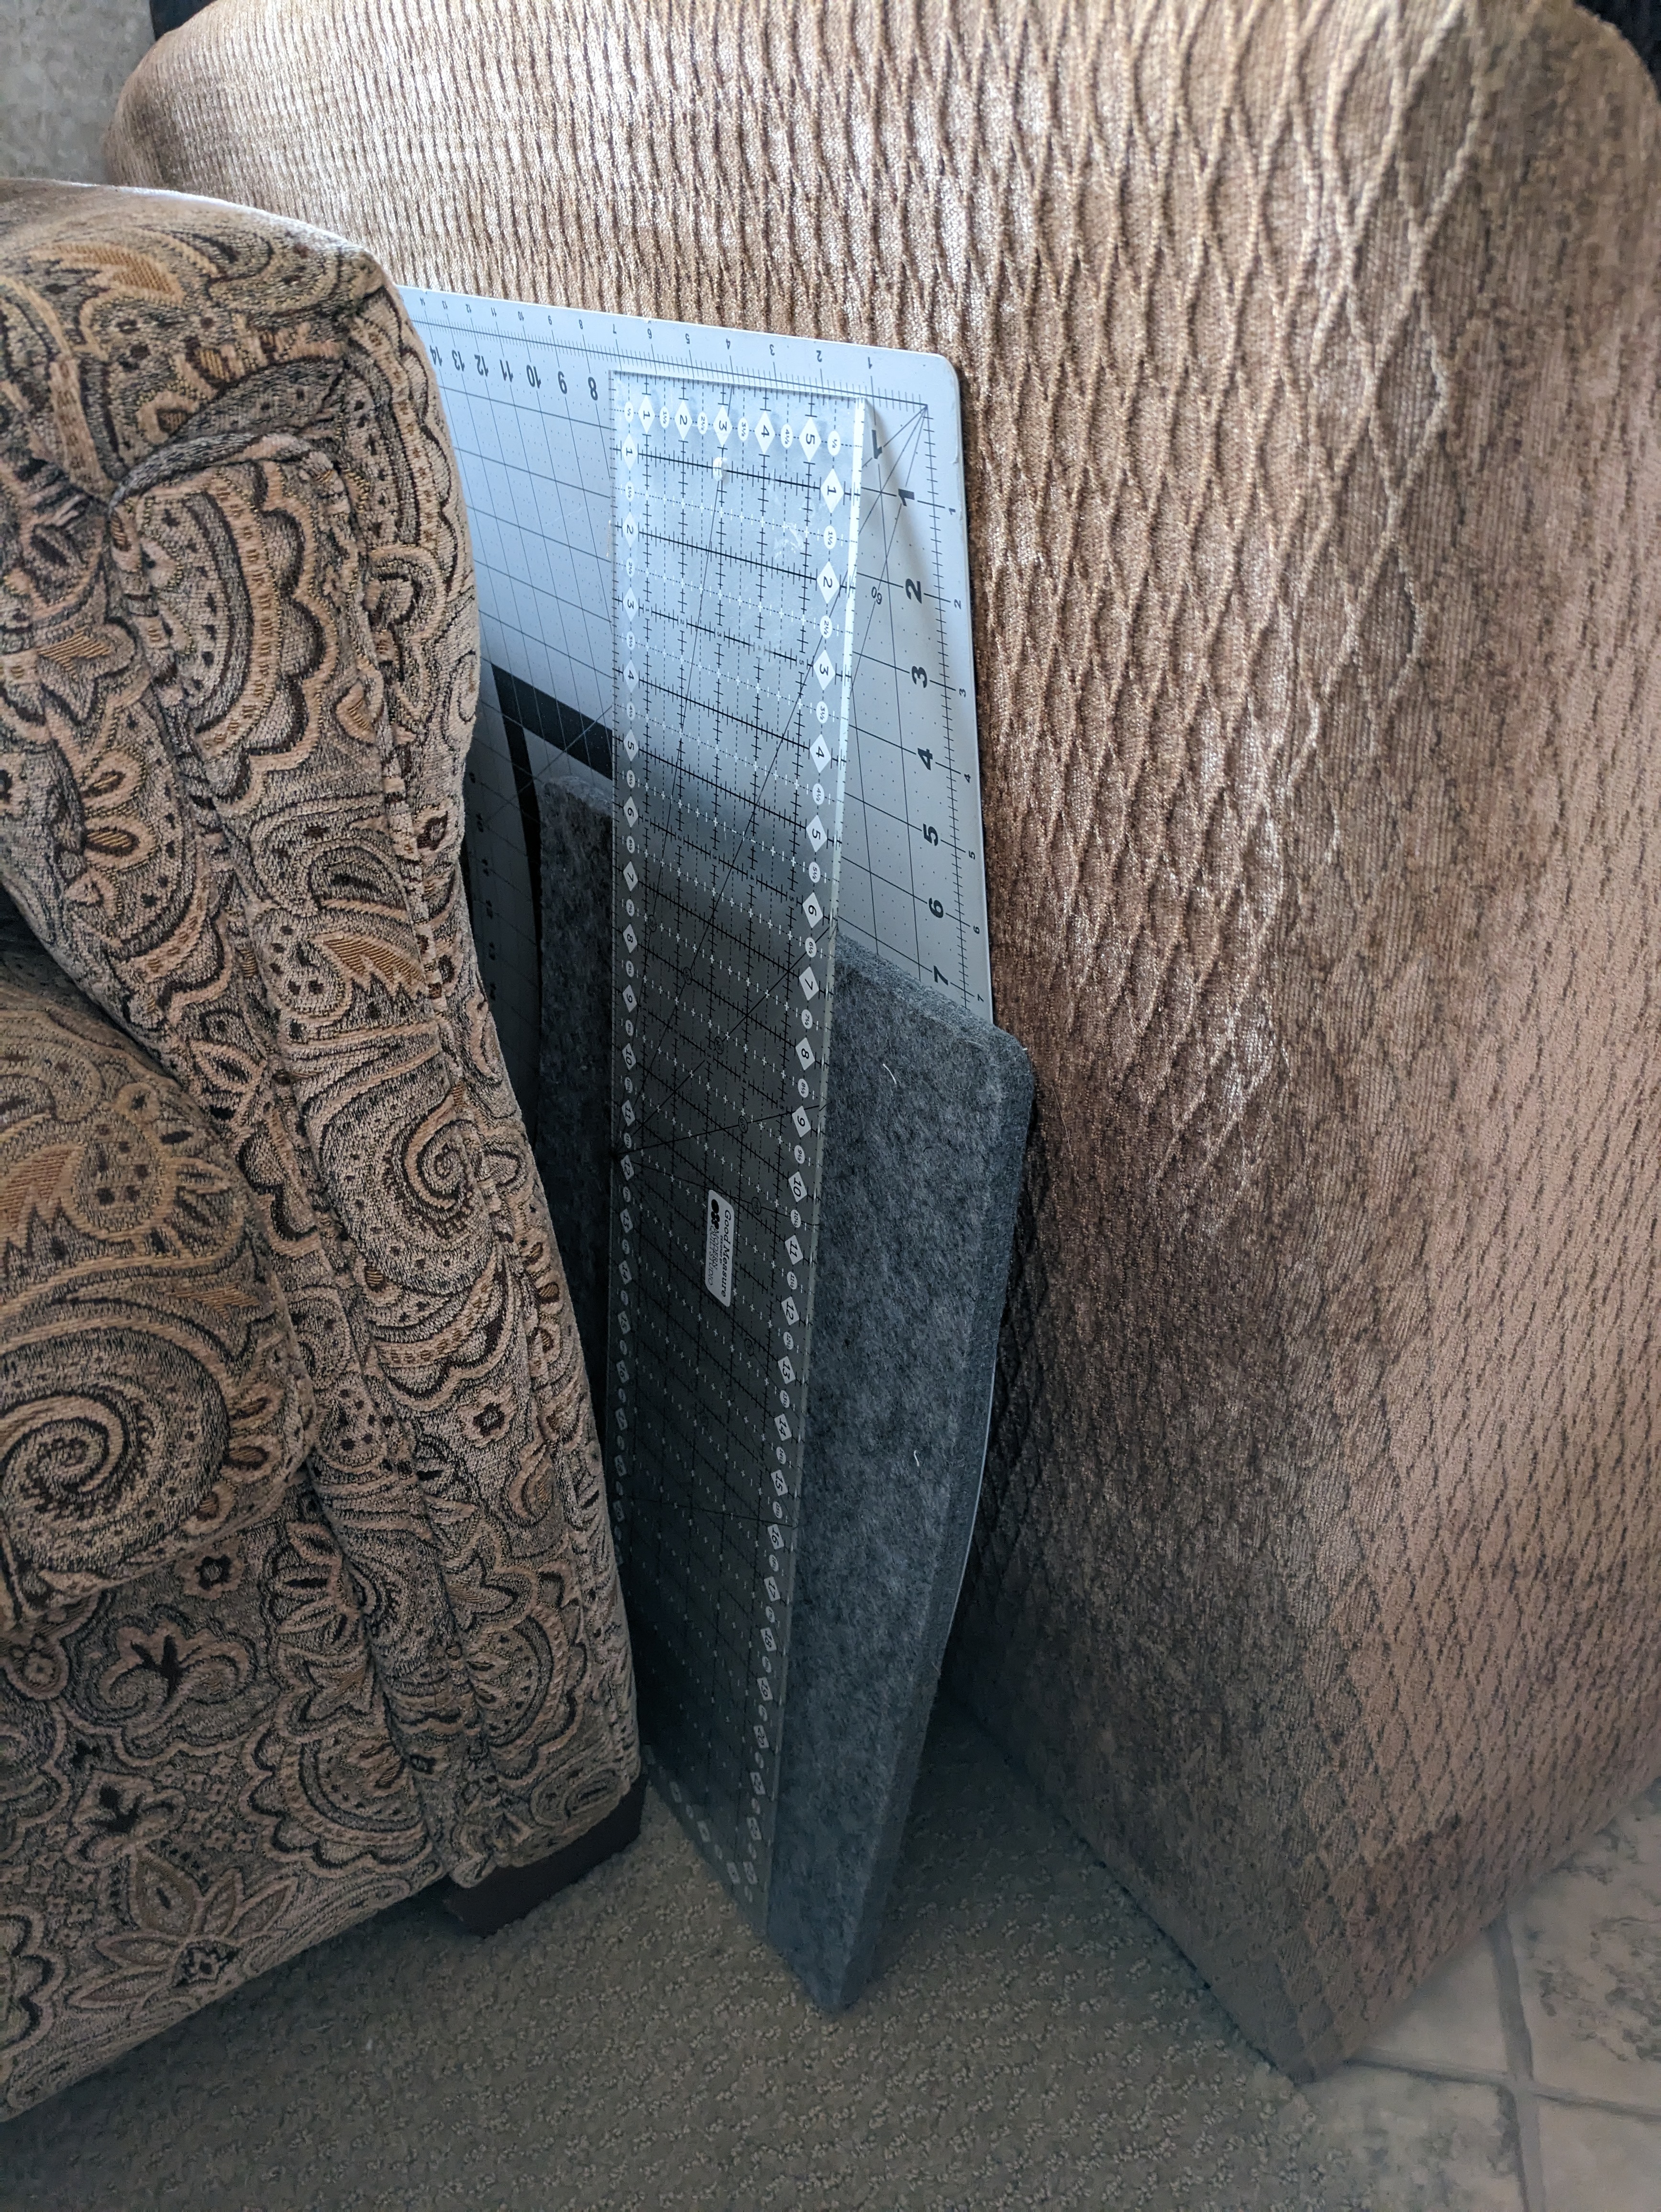
When it comes to ironing in the RV, I don’t have room for an ironing board (believe me, I tried!). Instead, I got a wool pressing mat that I can use on the RV table or counter. This pressing mat, my quilting ruler, and cutting mat don’t really fit inside a cabinet, so I store these in the small place between the couch and dinette. These storage solutions allow me to keep everything (mostly) out of sight until I am ready to sew.
Tip 5: Batch Sew as Much as Possible
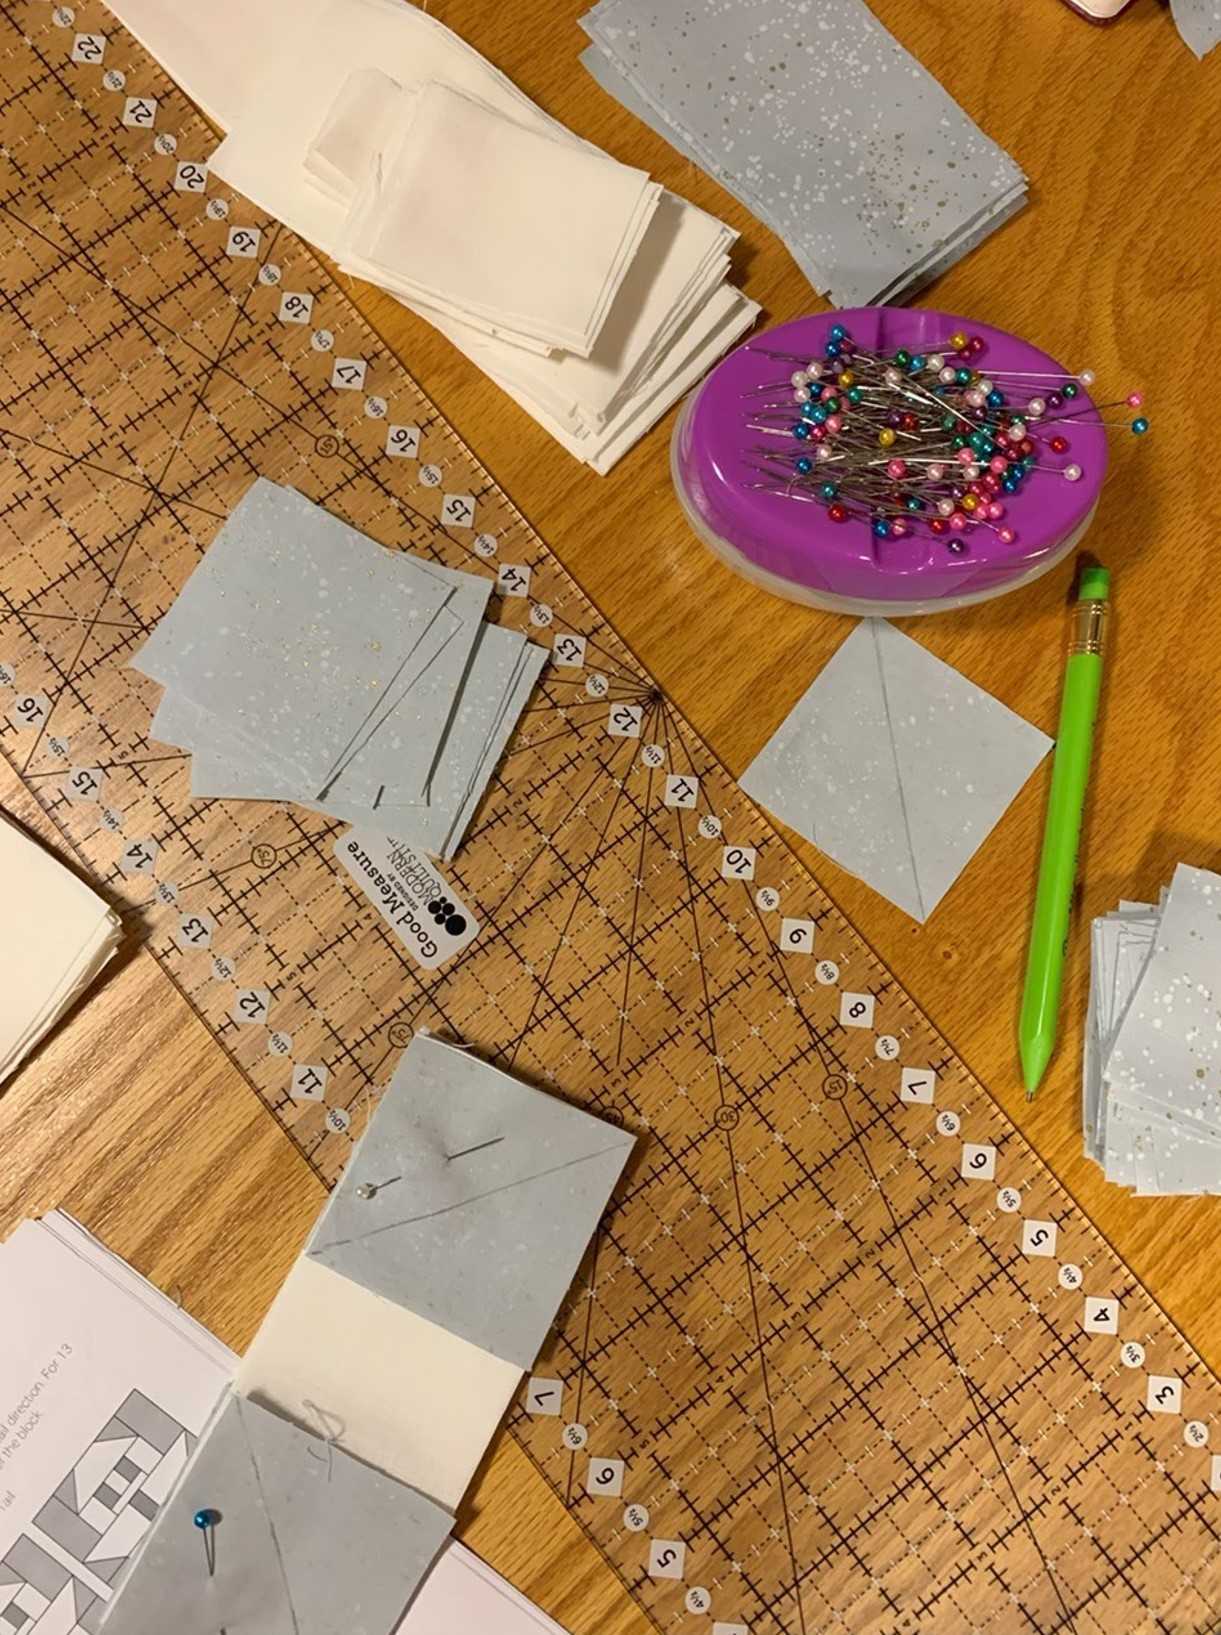
When it comes to actually sewing in the RV, I decided to focus on certain types of projects to keep my tools to a minimum. I decided to store supplies for both quilting and bra-making simply because these smaller pieces would be easier to cut out in a small space. Using separate storage bins for each of these project types helps me to keep my supplies organized.
I cannot recommend batching tasks for these sewing projects enough. In the RV, I don’t have the space to have out a cutting mat, iron, and sewing machine all at once. Because of this, I focus on one task at a time. Recently, I’ve been working on lots of baby quilts. When I start one, I first cut and organize all the pieces. Then, I sew as much as I can without ironing. Finally, I iron everything at once before moving on to the next step. These tasks are typically even done on different days, so some days I only get out a rotary cutter and mat, others I get out my machine, and others it is just the iron and pressing mat. This keeps the “mess” in the RV to a minimum. In this small space, it can seem like a lot if everything is out at once.
These 5 tips have certainly helped me keep this hobby I love while living in an RV. I hope this inspires you to know that sewing in a small space, in whatever form it takes, IS possible. Have you sewed in an RV or small space too? Share your top tip in the comments!
This small space sewing is nearing an end for me as we finish up construction on our home. Are you interested in a post on setting up a new sewing space? Let me know that in the comments as well! Happy sewing!